Logto is an Auth0 alternative designed for modern apps and SaaS products. It offers both Cloud and Open-source services to help you quickly launch your identity and management (IAM) system. Enjoy authentication, authorization, and multi-tenant management all in one.
We recommend starting with a free development tenant on Logto Cloud. This allows you to explore all the features easily.
In this article, we will go through the steps to quickly build the Xiaomi sign-in experience (user authentication) with Go and Logto.
Prerequisites
- A running Logto instance. Check out the introduction page to get started.
- Basic knowledge of Go.
- A usable Xiaomi account.
Create an application in Logto
Logto is based on OpenID Connect (OIDC) authentication and OAuth 2.0 authorization. It supports federated identity management across multiple applications, commonly called Single Sign-On (SSO).
To create your Traditional web application, simply follow these steps:
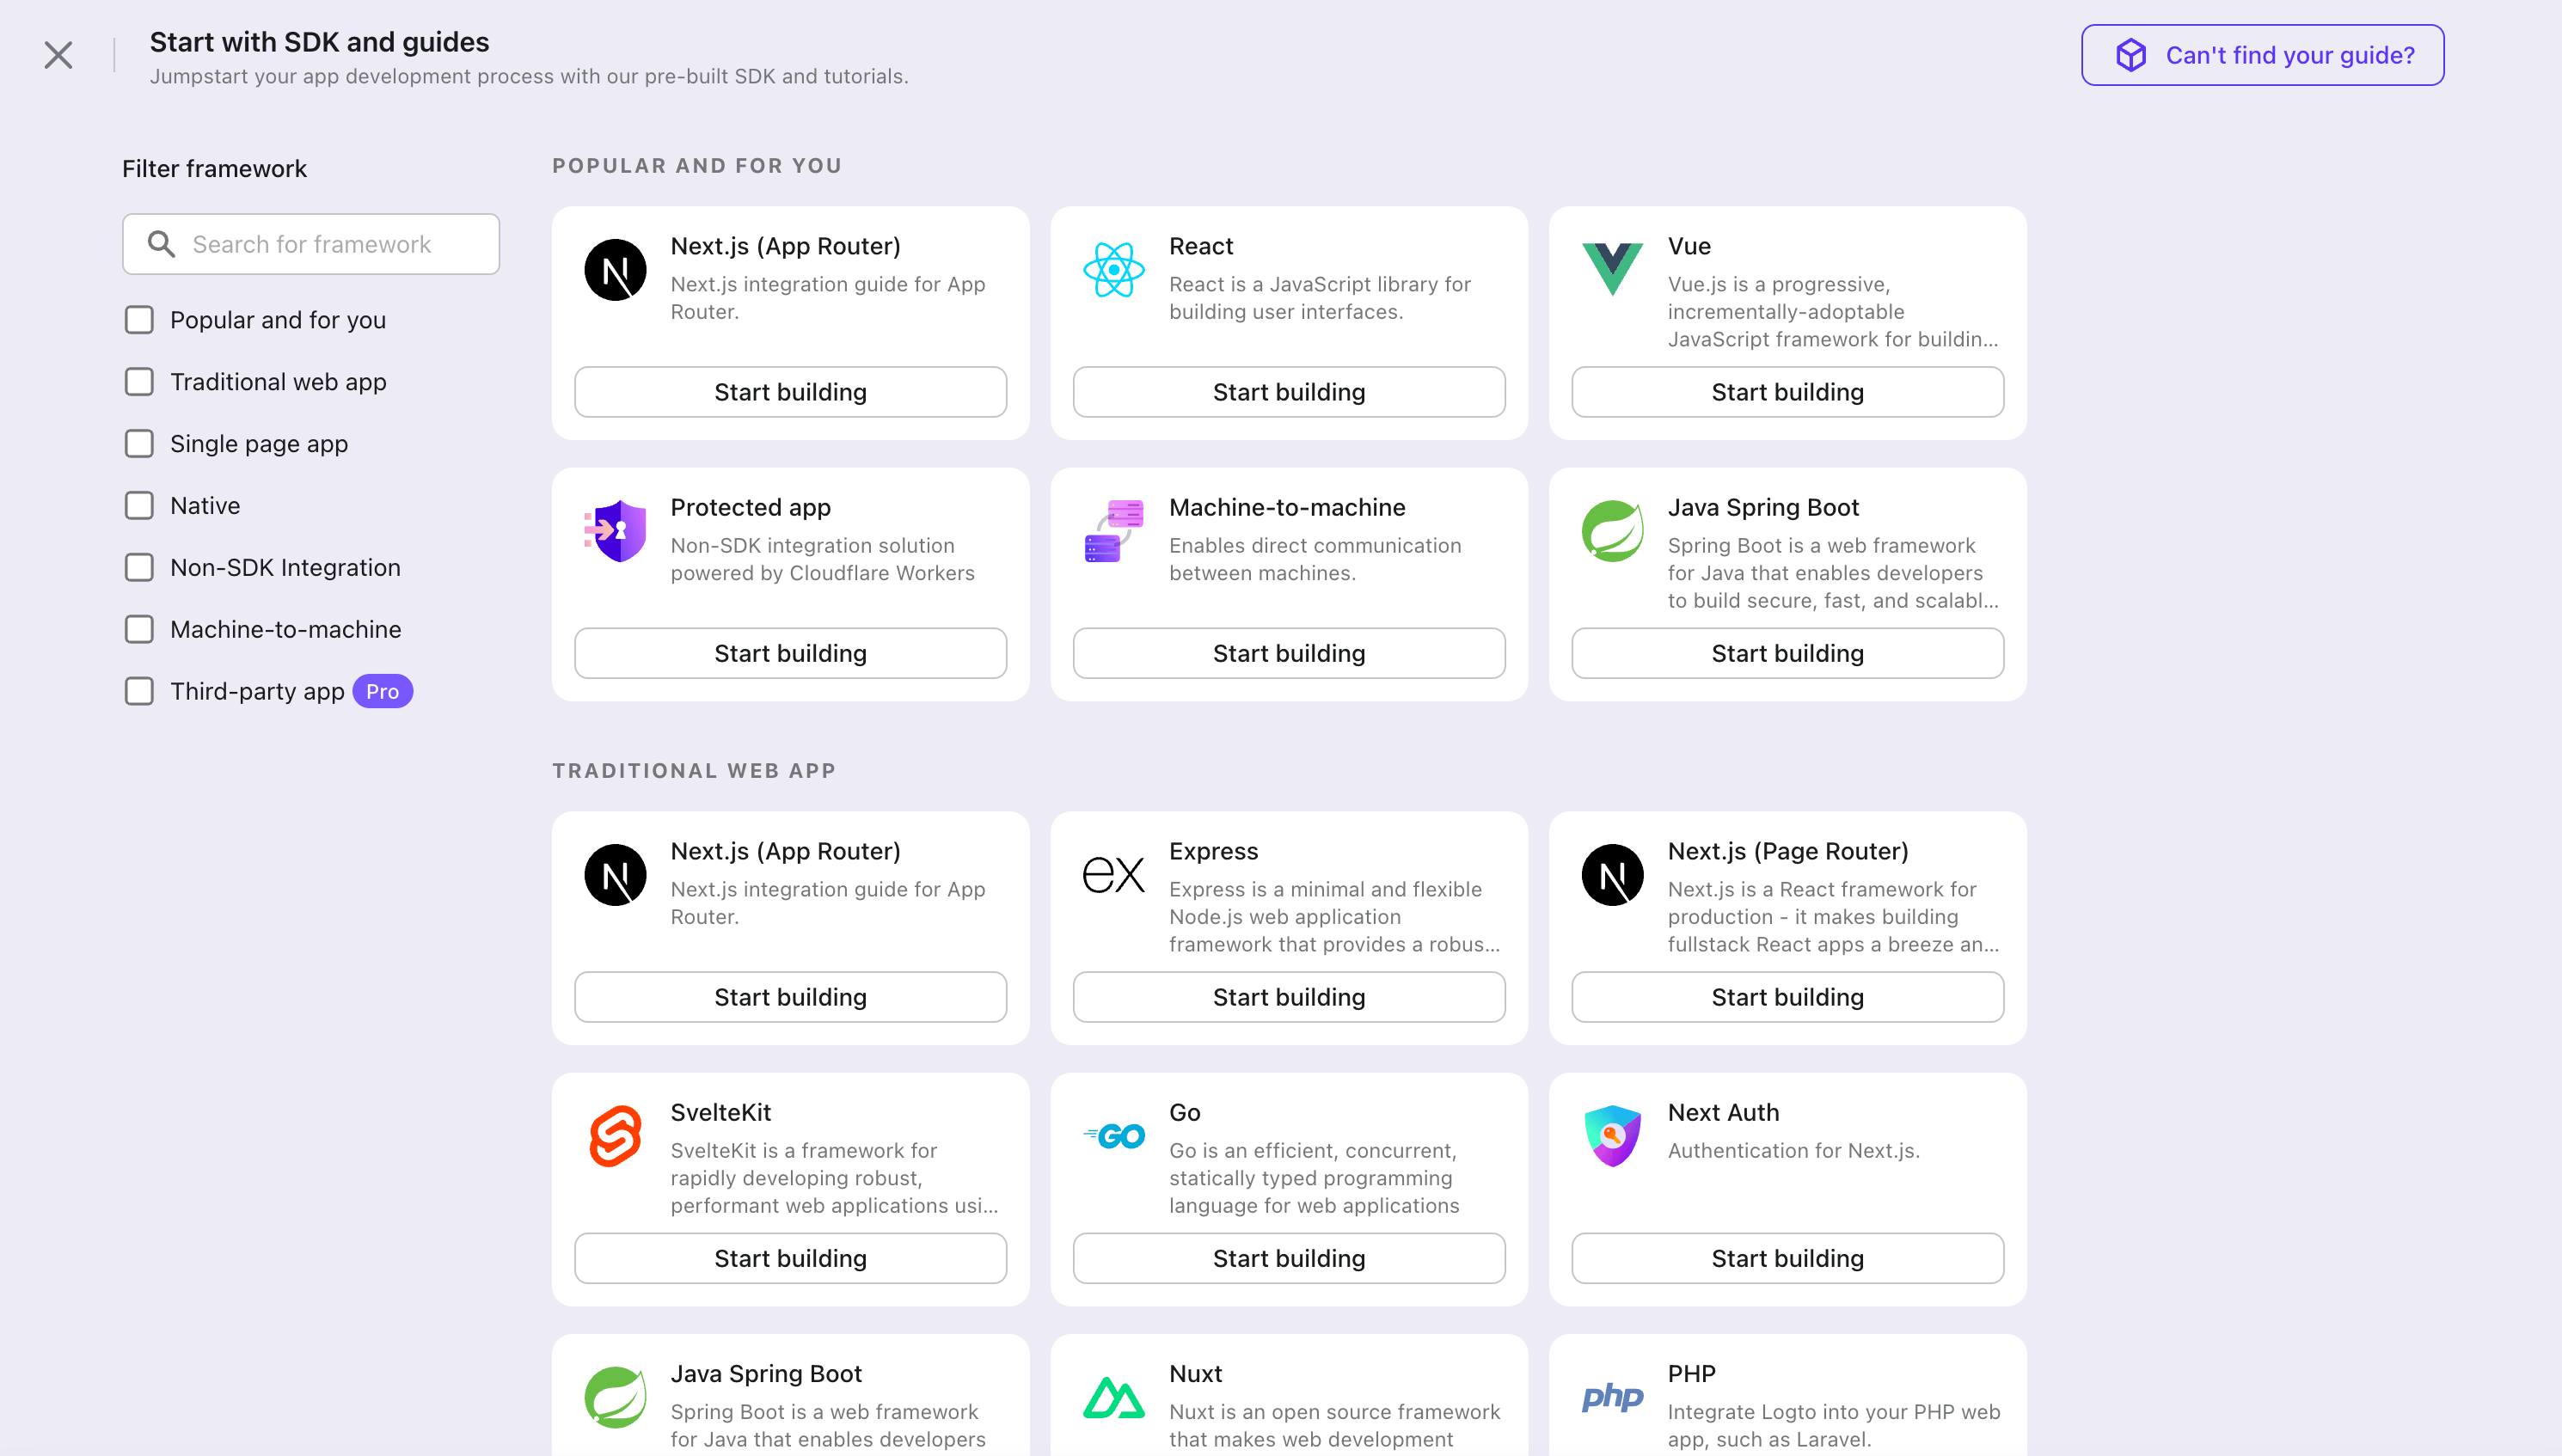
- Open the Logto Console. In the "Get started" section, click the "View all" link to open the application frameworks list. Alternatively, you can navigate to Logto Console > Applications, and click the "Create application" button.

- In the opening modal, click the "Traditional web" section or filter all the available "Traditional web" frameworks using the quick filter checkboxes on the left. Click the "Go" framework card to start creating your application.

- Enter the application name, e.g., "Bookstore," and click "Create application".
🎉 Ta-da! You just created your first application in Logto. You'll see a congrats page which includes a detailed integration guide. Follow the guide to see what the experience will be in your application.
Integrate Go with Logto
- The following demonstration is built upon the Gin Web Framework. You may also integrate Logto into other frameworks by taking the same steps.
- The Go sample project is available on our Go SDK repo.
Installation
Execute in the project root directory:
# Install the core package for accessing predefined values and types
go get github.com/logto-io/go/v2/core

# Install the client package for interacting with the Logto
go get github.com/logto-io/go/v2/client
Add github.com/logto-io/go/v2/core and github.com/logto-io/go/v2/client packages to your application code:
// main.go
package main

import (
	"github.com/gin-gonic/gin"
	// Add dependency
	"github.com/logto-io/go/v2/core"
	"github.com/logto-io/go/v2/client"
)

func main() {
	router := gin.Default()
	router.GET("/", func(c *gin.Context) {
		c.String(200, "Hello Logto!")
	})
	router.Run(":3000")
}
Create a session storage
In traditional web applications, the user authentication information will be stored in the user session.
Logto SDK provides a Storage interface, you can implement a Storage adapter based on your web framework so that the Logto SDK can store user authentication information in the session.
We do NOT recommend using cookie-based sessions, as user authentication information stored by Logto may exceed the cookie size limit. In this example, we use memory-based sessions. You can use Redis, MongoDB, and other technologies in production to store sessions as needed.
The Storage type in the Logto SDK is as follows:
package client

type Storage interface {
	GetItem(key string) string
	SetItem(key, value string)
}
We use github.com/gin-contrib/sessions middleware as an example to demonstrate this process.
Apply the middleware to the application, so that we can get the user session by the user request context in the route handler:
package main

import (
	"github.com/gin-contrib/sessions"
	"github.com/gin-contrib/sessions/memstore"
	"github.com/gin-gonic/gin"
	"github.com/logto-io/go/v2/client"
)

func main() {
	router := gin.Default()

	// We use memory-based session in this example
	store := memstore.NewStore([]byte("your session secret"))
	router.Use(sessions.Sessions("logto-session", store))

	router.GET("/", func(ctx *gin.Context) {
		// Get user session
		session := sessions.Default(ctx)
		// ...
		ctx.String(200, "Hello Logto!")
	})
	router.Run(":3000")
}
Create a session_storage.go file, define a SessionStorage and implement the Logto SDK's Storage interfaces:
package main

import (
	"github.com/gin-contrib/sessions"
)

type SessionStorage struct {
	session sessions.Session
}

func (storage *SessionStorage) GetItem(key string) string {
	value := storage.session.Get(key)
	if value == nil {
		return ""
	}
	return value.(string)
}

func (storage *SessionStorage) SetItem(key, value string) {
	storage.session.Set(key, value)
	storage.session.Save()
}
Now, in the route handler, you can create a session storage for Logto:
session := sessions.Default(ctx)
sessionStorage := &SessionStorage{session: session}
Init LogtoClient
First, create a Logto config:
func main() {
	// ...
	logtoConfig := &client.LogtoConfig{
		Endpoint:  "<your-logto-endpoint>", // E.g. http://localhost:3001
		AppId:     "<your-application-id>",
		AppSecret: "<your-application-secret>",
	}
	// ...
}
You can find and copy "App Secret" from application details page in Admin Console:

Then, you can create a LogtoClient for each user request with the Logto config above:
func main() {
	// ...

	router.GET("/", func(ctx *gin.Context) {
		// Create LogtoClient
		session := sessions.Default(ctx)
		logtoClient := client.NewLogtoClient(
			logtoConfig,
			&SessionStorage{session: session},
		)

		// Use Logto to control the content of the home page
		authState := "You are not logged in to this website. :("

		if logtoClient.IsAuthenticated() {
			authState = "You are logged in to this website! :)"
		}

		homePage := `<h1>Hello Logto</h1>` +
			"<div>" + authState + "</div>"

		ctx.Data(http.StatusOK, "text/html; charset=utf-8", []byte(homePage))
	})

	// ...
}
Implement sign-in route
After the redirect URI is configured, we add a sign-in route to handle the sign-in request and also add an sign-in link on the home page:
func main() {
	// ...

	// Add a link to perform a sign-in request on the home page
	router.GET("/", func(ctx *gin.Context) {
		// ...
		homePage := `<h1>Hello Logto</h1>` +
			"<div>" + authState + "</div>" +
			// Add link
			`<div><a href="/sign-in">Sign In</a></div>`

		ctx.Data(http.StatusOK, "text/html; charset=utf-8", []byte(homePage))
	})

	// Add a route for handling sign-in requests
	router.GET("/sign-in", func(ctx *gin.Context) {
		session := sessions.Default(ctx)
		logtoClient := client.NewLogtoClient(
			logtoConfig,
			&SessionStorage{session: session},
		)

		// The sign-in request is handled by Logto.
		// The user will be redirected to the Redirect URI on signed in.
		signInUri, err := logtoClient.SignIn("http://localhost:3000/callback")
		if err != nil {
			ctx.String(http.StatusInternalServerError, err.Error())
			return
		}

		// Redirect the user to the Logto sign-in page.
		ctx.Redirect(http.StatusTemporaryRedirect, signInUri)
	})

	// ...
}
Now, when your user visit http://localhost:3000/sign-in, the user will be redirected to the Logto sign-in page.
Implement the callback route
When the user signs in successfully on the Logto sign-in page, Logto will redirect the user to the Redirect URI.
Since the redirect URI is http://localhost:3000/callback, we add the /callback route to handle the callback after signing in.
func main() {
	// ...

	// Add a route for handling sign-in callback requests
	router.GET("/callback", func(ctx *gin.Context) {
		session := sessions.Default(ctx)
		logtoClient := client.NewLogtoClient(
			logtoConfig,
			&SessionStorage{session: session},
		)

		// The sign-in callback request is handled by Logto
		err := logtoClient.HandleSignInCallback(ctx.Request)
		if err != nil {
			ctx.String(http.StatusInternalServerError, err.Error())
			return
		}

		// Jump to the page specified by the developer.
		// This example takes the user back to the home page.
		ctx.Redirect(http.StatusTemporaryRedirect, "/")
	})

	// ...
}
Implement sign-out route
Similar to the sign-in flow, when the user signs out, Logto will redirect the user to the post sign-out redirect URI.
Now, let's add the sign-out route to handle the sign-out request and also add a sign-out link on the home page:
func main() {
	// ...

	// Add a link to perform a sign-out request on the home page
	router.GET("/", func(ctx *gin.Context) {
		// ...
		homePage := `<h1>Hello Logto</h1>` +
			"<div>" + authState + "</div>" +
			`<div><a href="/sign-in">Sign In</a></div>` +
			// Add link
			`<div><a href="/sign-out">Sign Out</a></div>`

		ctx.Data(http.StatusOK, "text/html; charset=utf-8", []byte(homePage))
	})

	// Add a route for handling signing out requests
	router.GET("/sign-out", func(ctx *gin.Context) {
		session := sessions.Default(ctx)
		logtoClient := client.NewLogtoClient(
			logtoConfig,
			&SessionStorage{session: session},
		)

		// The sign-out request is handled by Logto.
		// The user will be redirected to the Post Sign-out Redirect URI on signed out.
		signOutUri, signOutErr := logtoClient.SignOut("http://localhost:3000")

		if signOutErr != nil {
			ctx.String(http.StatusOK, signOutErr.Error())
			return
		}

		ctx.Redirect(http.StatusTemporaryRedirect, signOutUri)
	})

	// ...
}
After the user makes a signing-out request, Logto will clear all user authentication information in the session.
Checkpoint: Test your application
Now, you can test your application:
- Run your application, you will see the sign-in button.
- Click the sign-in button, the SDK will init the sign-in process and redirect you to the Logto sign-in page.
- After you signed in, you will be redirected back to your application and see the sign-out button.
- Click the sign-out button to clear token storage and sign out.
Add Xiaomi connector
To enable quick sign-in and improve user conversion, connect with Go as an identity provider. The Logto social connector helps you establish this connection in minutes by allowing several parameter inputs.
To add a social connector, simply follow these steps:
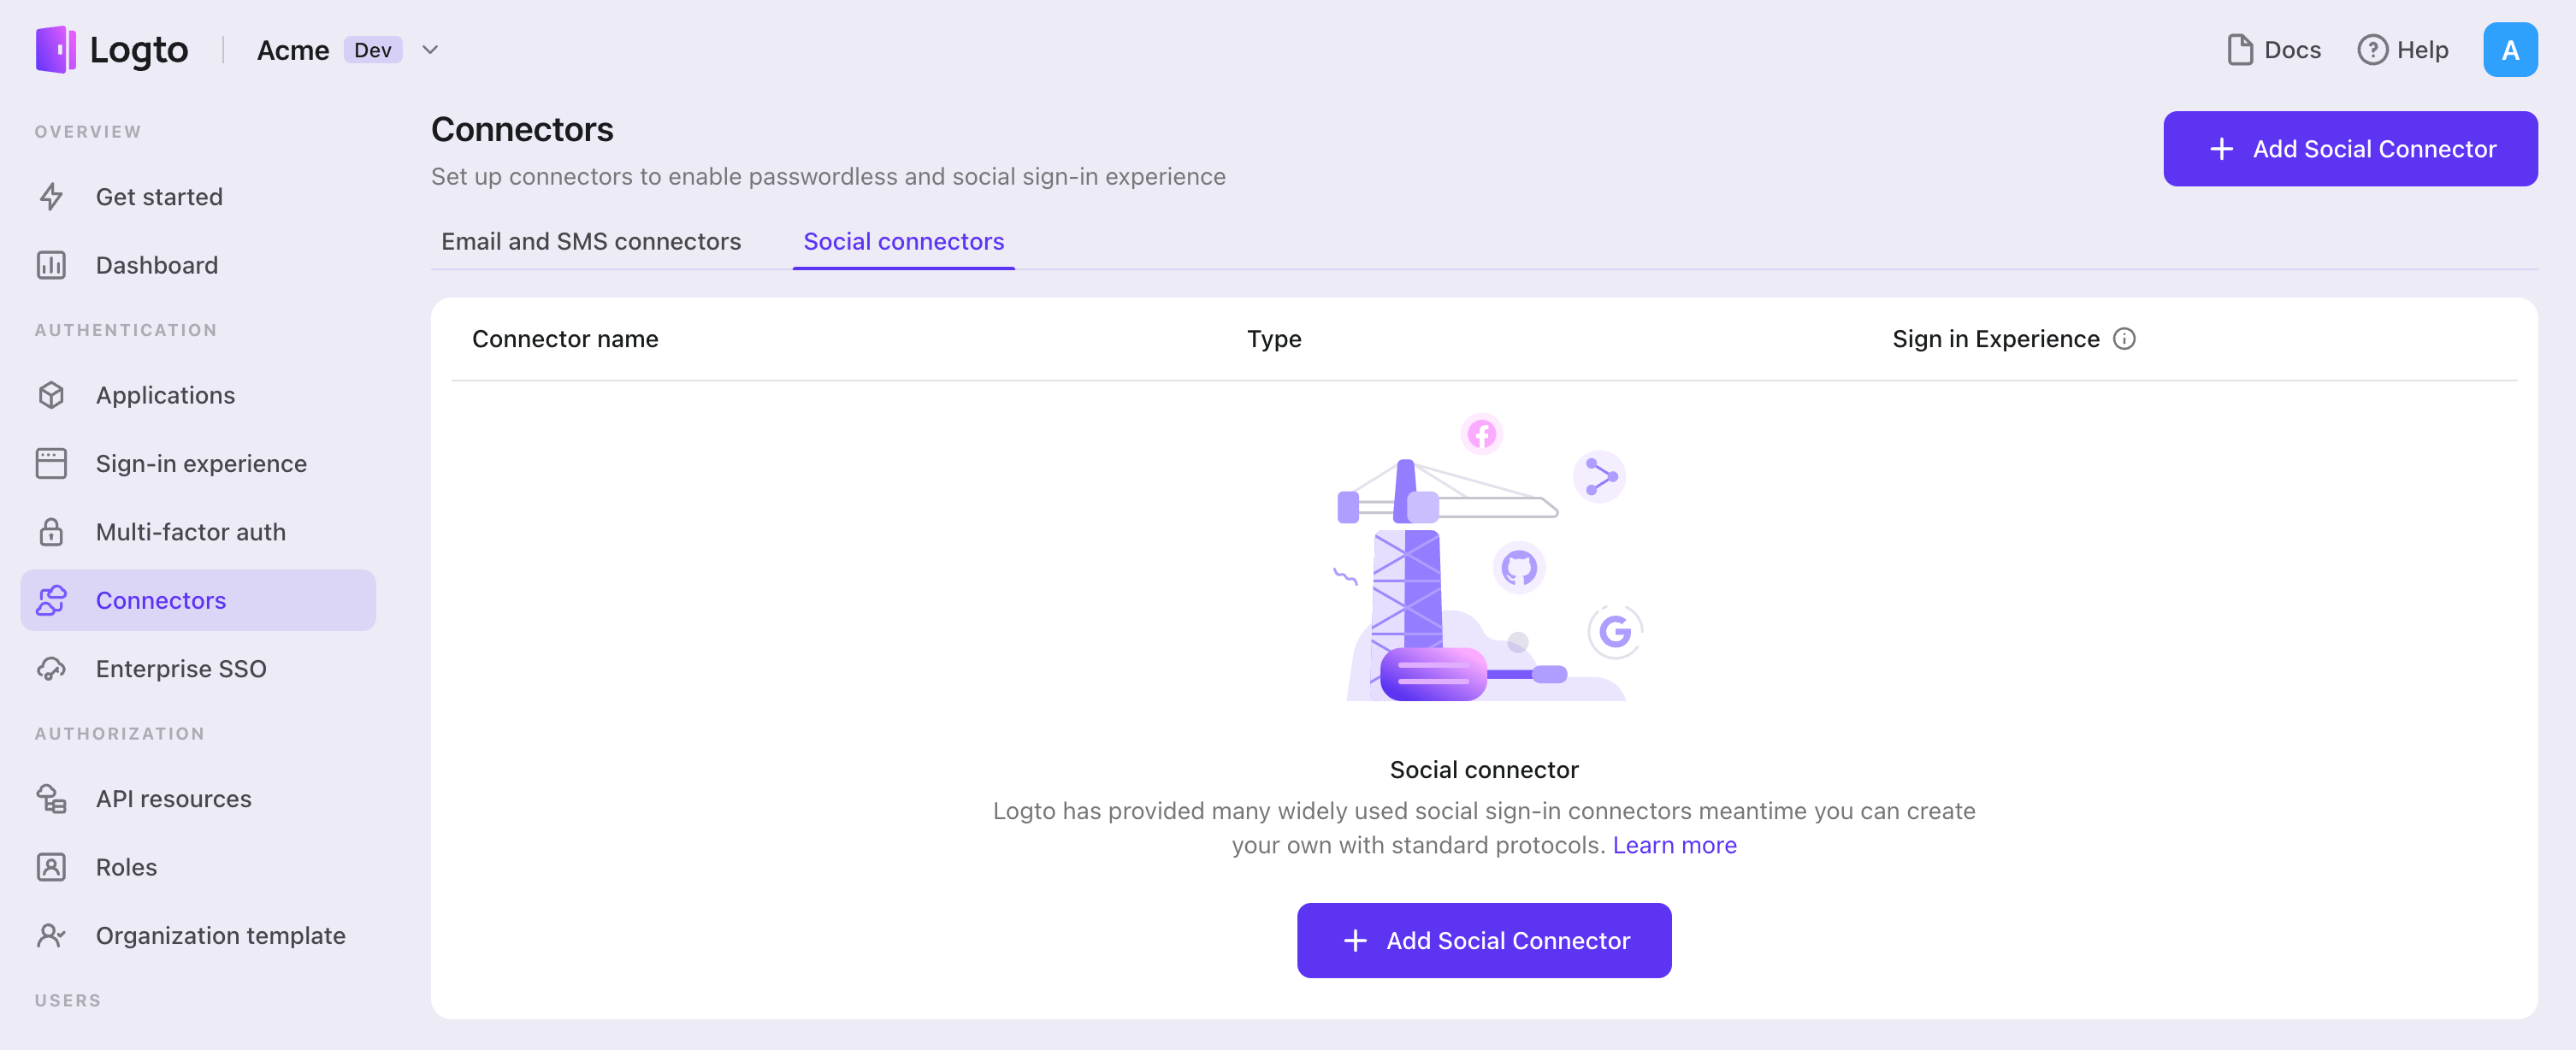
- Navigate to Console > Connectors > Social Connectors.
- Click "Add social connector" and select "Xiaomi".
- Follow the README guide and complete required fields and customize settings.

If you are following the in-place Connector guide, you can skip the next section.
Set up Xiaomi OAuth app
Get started
- Create a developer account at Xiaomi Open Platform
- Visit Xiaomi Account Service
- Create a new application if you don't have one
Configure Xiaomi OAuth application
- Visit Xiaomi Account Service
- Configure OAuth settings:
- Open the application you want to use for login, click on "Callback URL" (if you haven't edited the callback URL, it will display as "Enabled")
- Add authorization callback URL:
${your_logto_origin}/callback/${connector_id} connector_idcan be found on the top of the connector details page in Logto Console
- Get
AppIDandAppSecretfrom the application details page - Fill in the
clientIdandclientSecretfields in Logto Console with the values from step 3 - Optional configuration:
skipConfirm: Whether to skip the Xiaomi authorization confirmation page when user is already logged in to Xiaomi account, defaults to false
Scopes description
By default, the connector requests the following scope:
1: Read user profile
Available scopes:
| Scope Value | Description | API Interface |
|---|---|---|
| 1 | Get user profile | user/profile |
| 3 | Get user open_id | user/openIdV2 |
| 1000 | Get Xiaomi router info | Mi Router |
| 1001 | Access all Xiaomi router info | Mi Router |
| 2001 | Access Xiaomi cloud calendar | Mi Cloud |
| 2002 | Access Xiaomi cloud alarm | Mi Cloud |
| 6000 | Use Mi Home smart home service | Mi Home |
| 6002 | Add third-party devices to Mi Home | Mi Home |
| 6003 | Alexa control Xiaomi devices | Mi Home |
| 6004 | Third-party service access to Xiaomi devices | Mi Home |
| 7000 | Follow Yellow Pages service account | Mi Cloud |
| 11000 | Get Xiaomi cloud photos | Mi Cloud |
| 12001 | Save app data to Mi Cloud | Mi Cloud |
| 12005 | Use health ECG service | Health |
| 16000 | Get Mi Wallet passes | app/get_pass |
| 20000 | Enable XiaoAI voice service | XiaoAI |
| 40000 | Enable cloud AI service | Internal Use |
Multiple scopes can be configured by separating them with spaces, e.g.: 1 3 6000.
Test Xiaomi connector
That's it. Don't forget to Enable social sign-in in the sign-in experience.
Save your configuration
Double check you have filled out necessary values in the Logto connector configuration area. Click "Save and Done" (or "Save changes") and the Xiaomi connector should be available now.
Enable Xiaomi connector in Sign-in Experience
Once you create a social connector successfully, you can enable it as a "Continue with Xiaomi" button in Sign-in Experience.
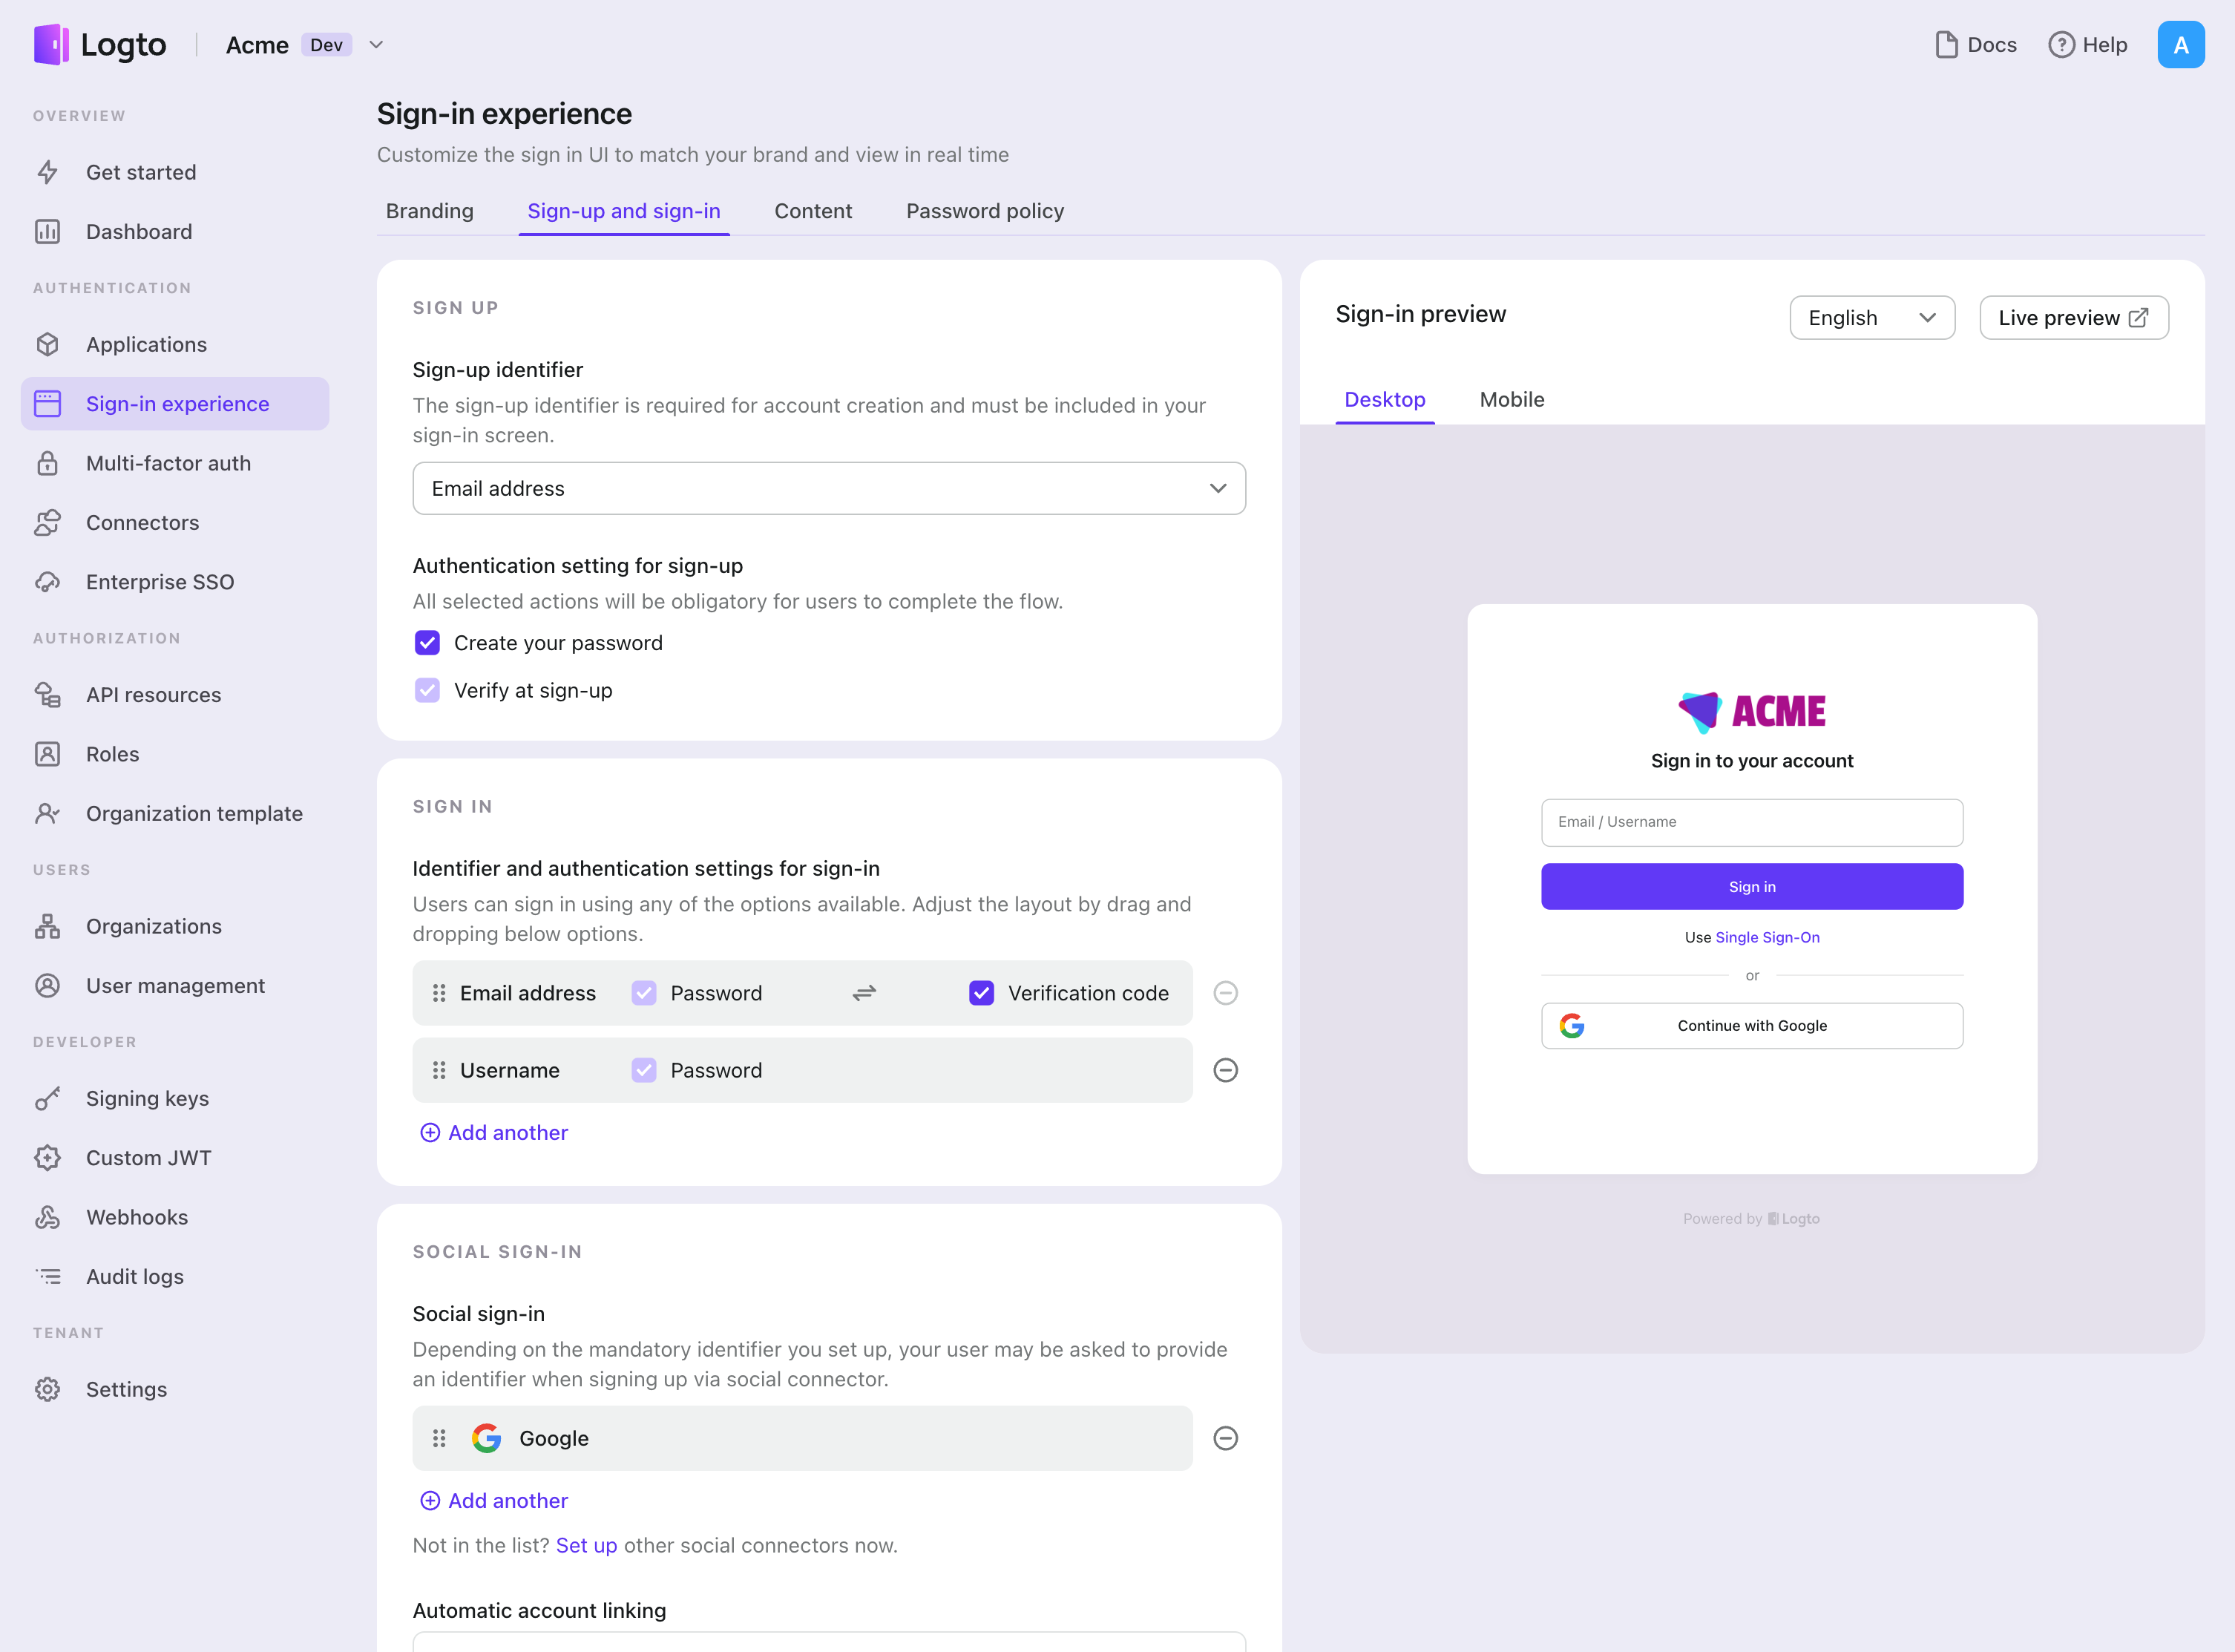
- Navigate to Console > Sign-in experience > Sign-up and sign-in.
- (Optional) Choose "Not applicable" for sign-up identifier if you need social login only.
- Add configured Xiaomi connector to the "Social sign-in" section.

Testing and Validation
Return to your Go app. You should now be able to sign in with Xiaomi. Enjoy!
Further readings
End-user flows: Logto provides a out-of-the-box authentication flows including MFA and enterprise SSO, along with powerful APIs for flexible implementation of account settings, security verification, and multi-tenant experience.
Authorization: Authorization defines the actions a user can do or resources they can access after being authenticated. Explore how to protect your API for native and single-page applications and implement Role-based Access Control (RBAC).
Organizations: Particularly effective in multi-tenant SaaS and B2B apps, the organization feature enable tenant creation, member management, organization-level RBAC, and just-in-time-provisioning.
Customer IAM series Our serial blog posts about Customer (or Consumer) Identity and Access Management, from 101 to advanced topics and beyond.