Logto is an Auth0 alternative designed for modern apps and SaaS products. It offers both Cloud and Open-source services to help you quickly launch your identity and management (IAM) system. Enjoy authentication, authorization, and multi-tenant management all in one.
We recommend starting with a free development tenant on Logto Cloud. This allows you to explore all the features easily.
In this article, we will go through the steps to quickly build the DingTalk sign-in experience (user authentication) with Android (Kotlin / Java) and Logto.
Prerequisites
- A running Logto instance. Check out the introduction page to get started.
- Basic knowledge of Android (Kotlin / Java).
- A usable DingTalk account.
Create an application in Logto
Logto is based on OpenID Connect (OIDC) authentication and OAuth 2.0 authorization. It supports federated identity management across multiple applications, commonly called Single Sign-On (SSO).
To create your Native app application, simply follow these steps:
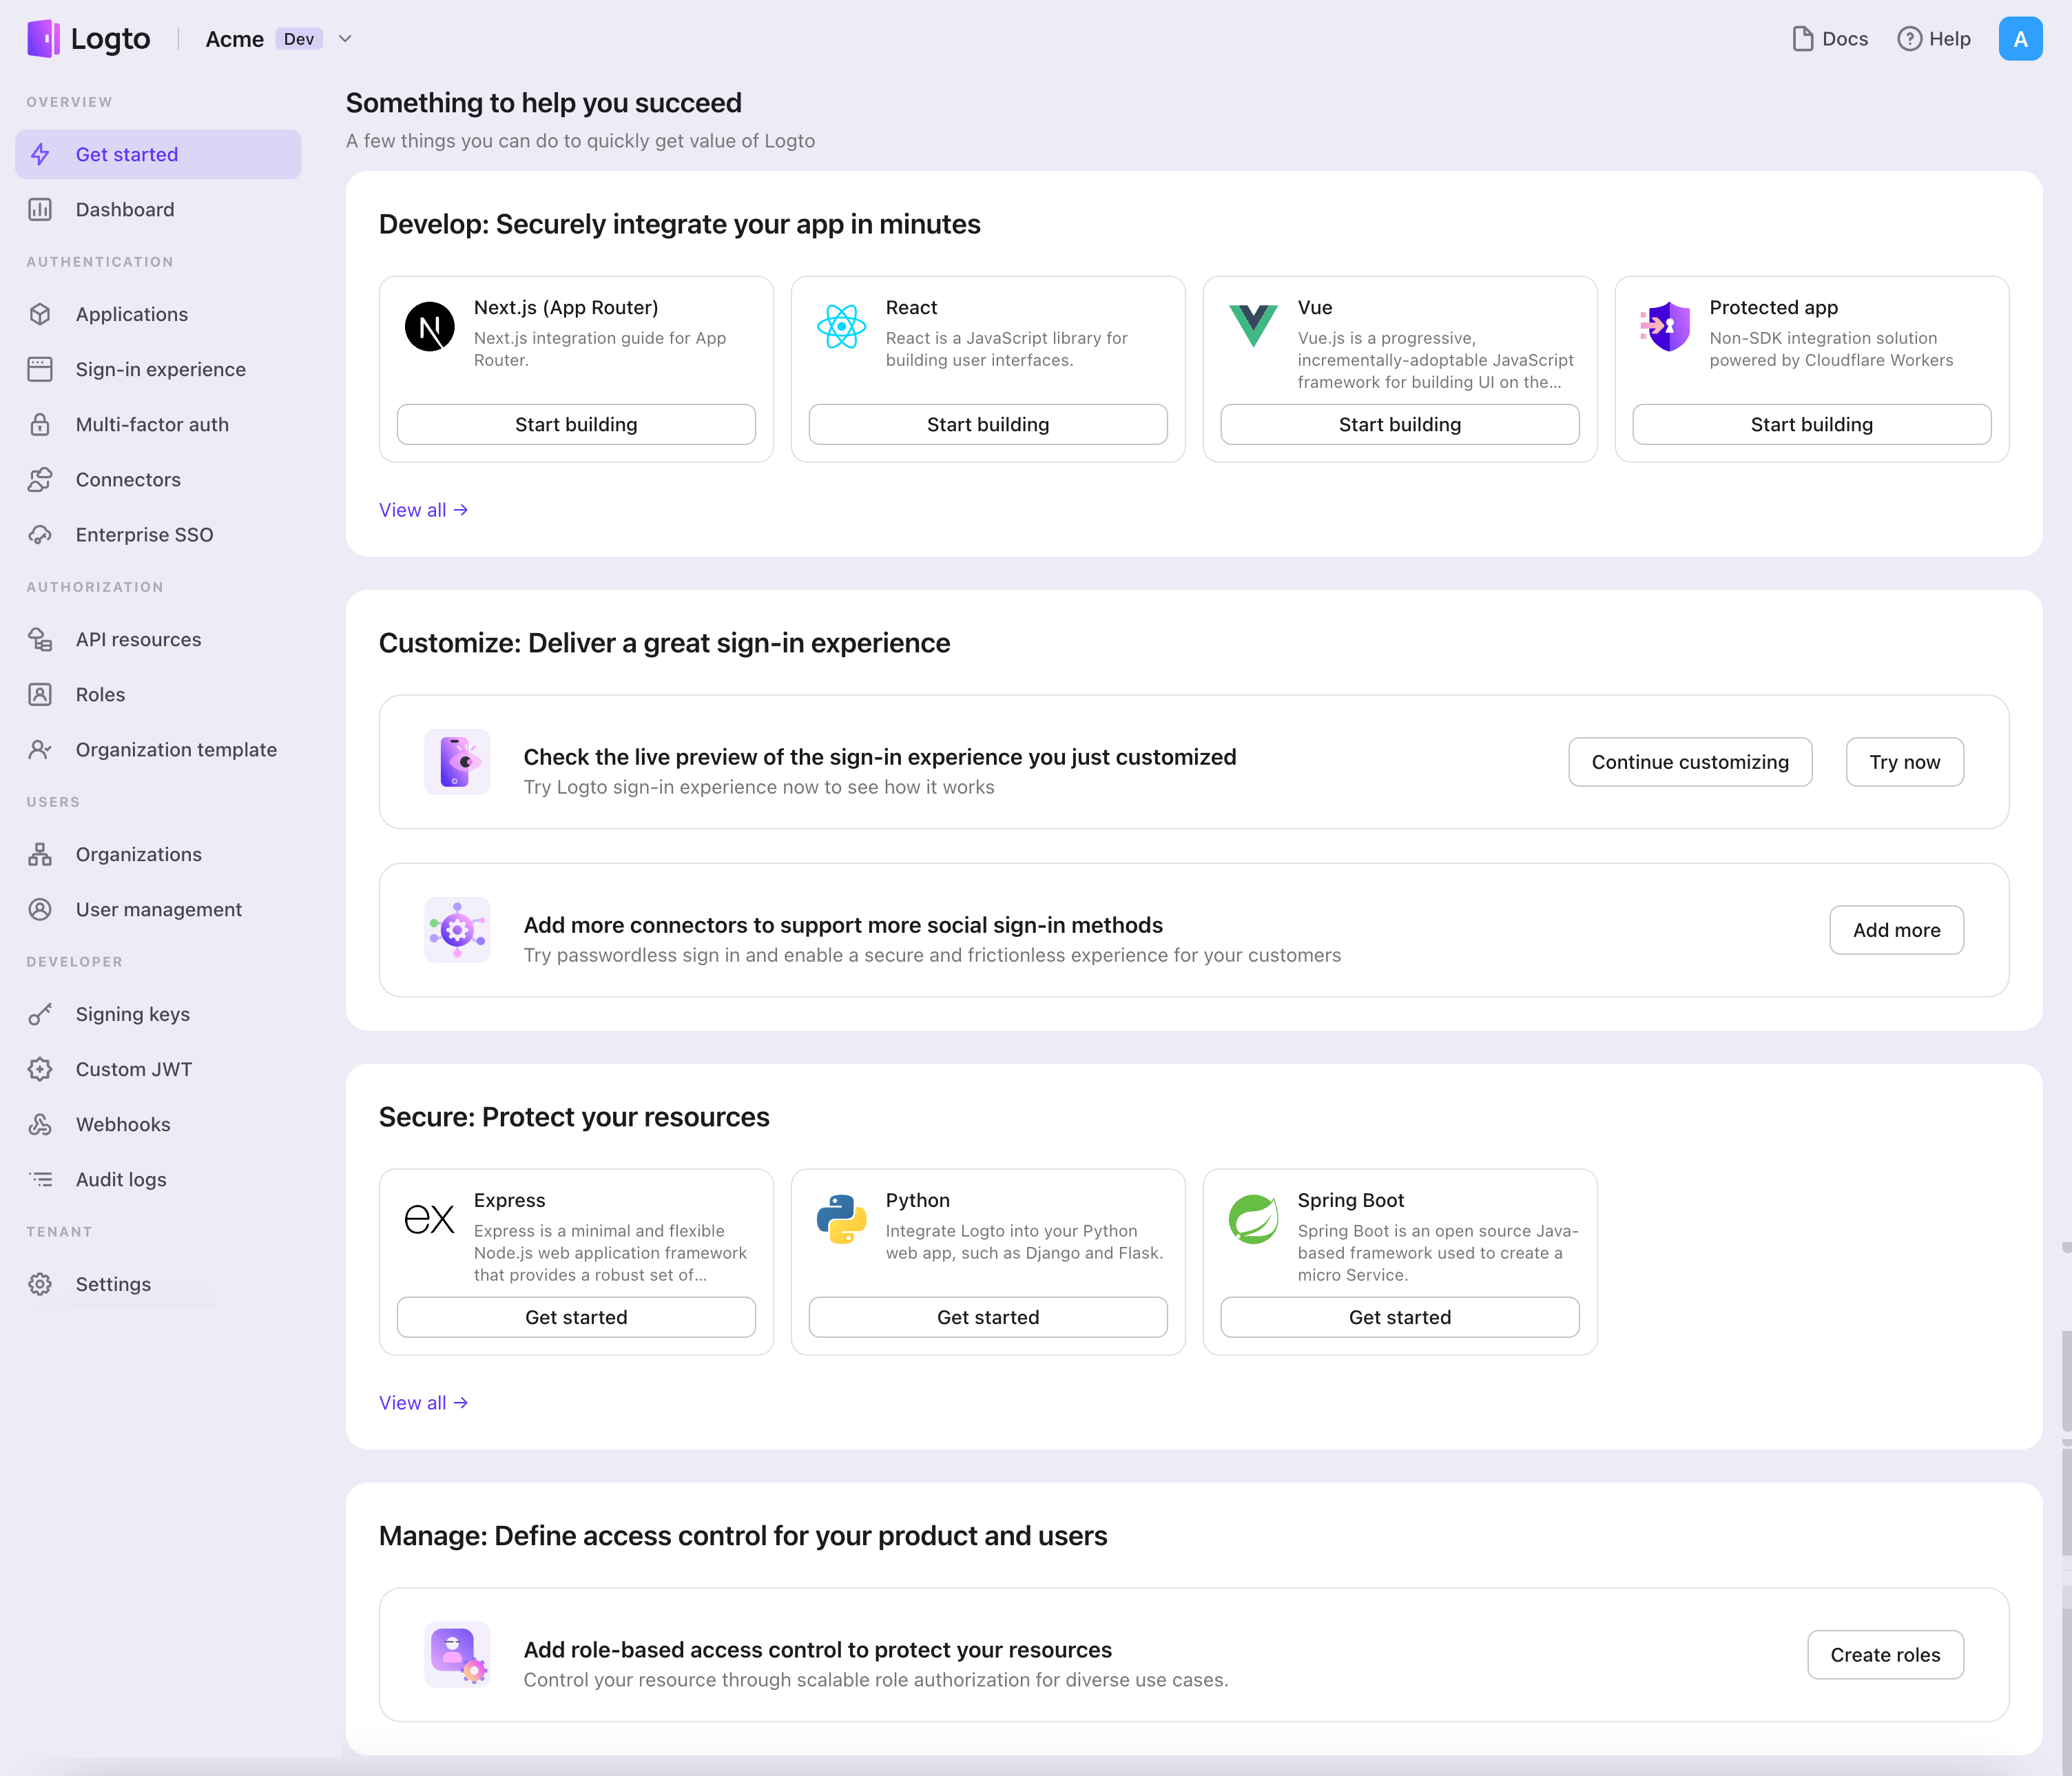
- Open the Logto Console. In the "Get started" section, click the "View all" link to open the application frameworks list. Alternatively, you can navigate to Logto Console > Applications, and click the "Create application" button.
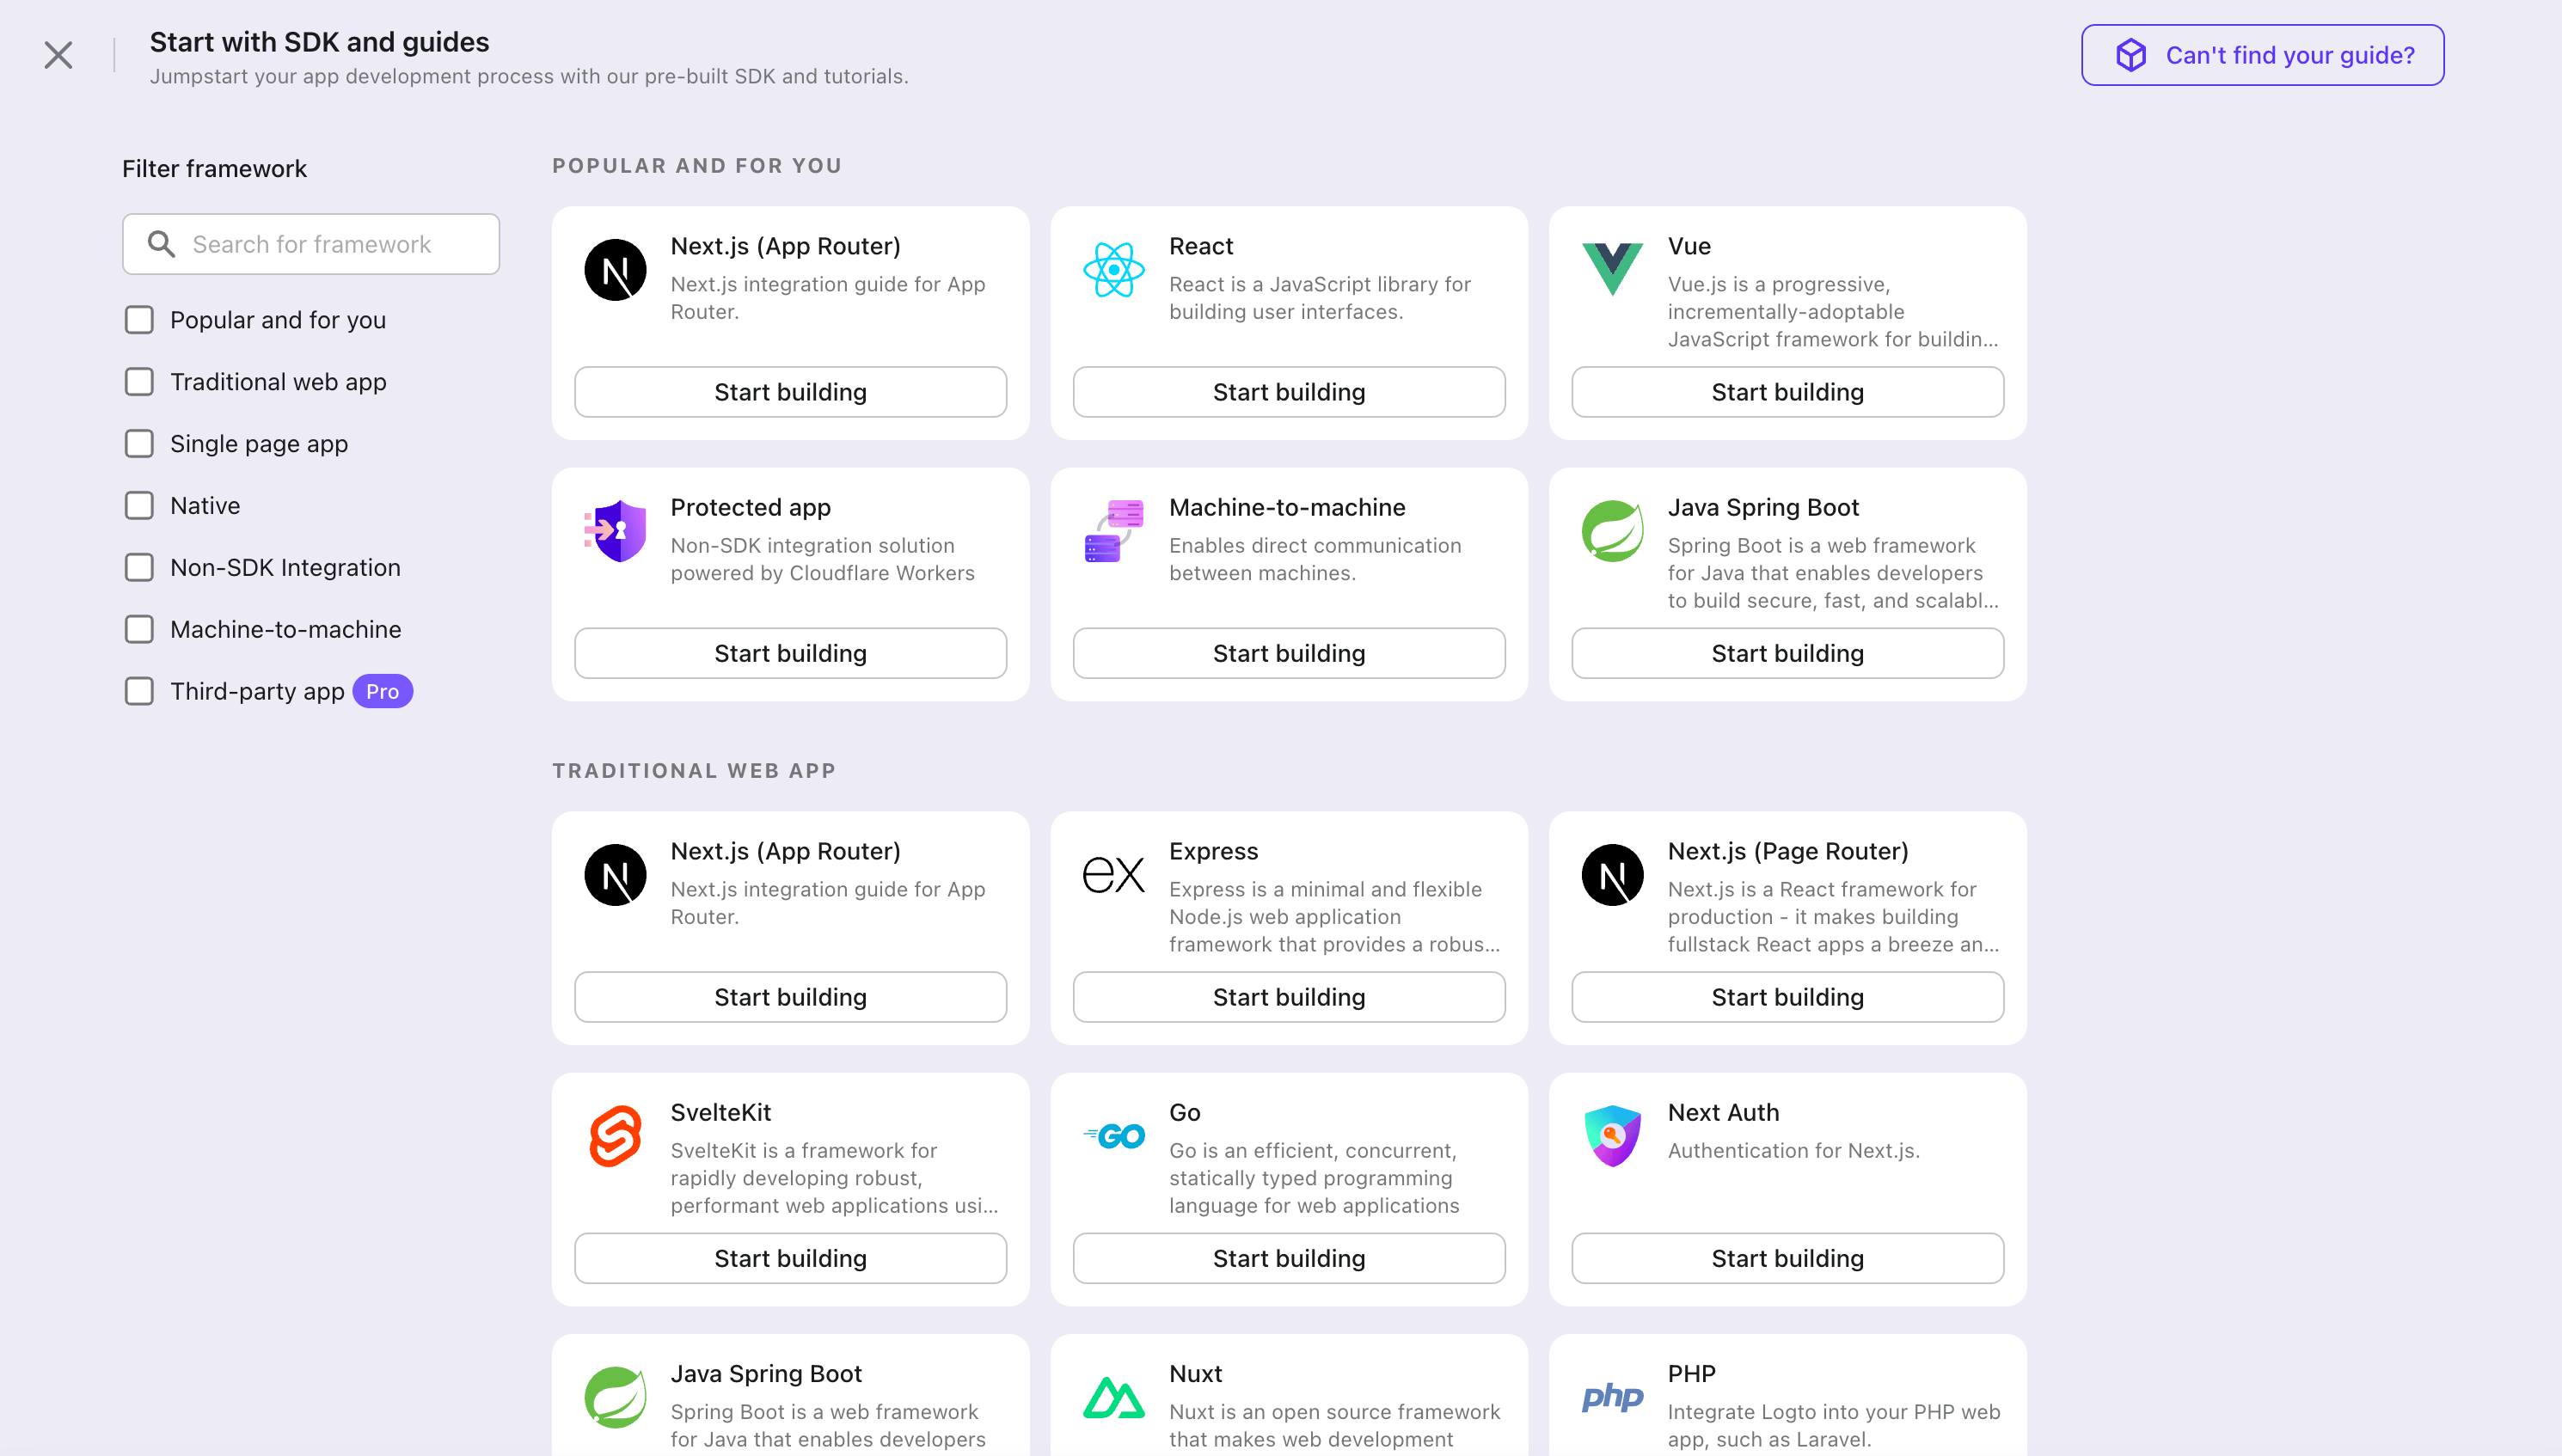
- In the opening modal, click the "Native app" section or filter all the available "Native app" frameworks using the quick filter checkboxes on the left. Click the "Android" framework card to start creating your application.
- Enter the application name, e.g., "Bookstore," and click "Create application".
🎉 Ta-da! You just created your first application in Logto. You'll see a congrats page which includes a detailed integration guide. Follow the guide to see what the experience will be in your application.
Integrate Android with Logto
- The example is based on View system and View Model, but the concepts are the same when using Jetpack Compose.
- The example is written in Kotlin, but the concepts are the same for Java.
- Both Kotlin and Java sample projects are available on our SDK repository.
- The tutorial video is available on our YouTube channel.
Installation
The minimum supported Android API level of Logto Android SDK is level 24.
Logto Android SDK comes in two major versions:
- v3 (beta): Opens the sign-in experience in Chrome Custom Tabs (the system browser), which unlocks passkey sign-in and shares the browser session. Note that v3 removes support for the WeChat (Native) and Alipay (Native) connectors; you can use WeChat (Web) and Alipay (Web) instead, which work through the browser. If you depend on the native connectors, stay on v2.
- v2: Opens the sign-in experience in an embedded WebView, which is required by the native social connectors, but does not support passkey sign-in (WebView does not support WebAuthn, the underlying standard of passkeys).
This guide covers both versions. Choose your version in the tabs below, and the choice will be kept in sync throughout this guide.
Before you install Logto Android SDK, ensure mavenCentral() is added to your repository configuration in the Gradle project build file:
dependencyResolutionManagement {
  repositories {
    mavenCentral()
  }
}
Add Logto Android SDK to your dependencies:
- v3 (beta)
- v2
v3 is released as 3.0.0-beta prereleases until GA. Use the latest prerelease as the version:
- Kotlin
- Groovy
dependencies {
  implementation("io.logto.sdk:android:3.0.0-beta")
}
dependencies {
  implementation 'io.logto.sdk:android:3.0.0-beta'
}
- Kotlin
- Groovy
dependencies {
  implementation("io.logto.sdk:android:2.0.3")
}
dependencies {
  implementation 'io.logto.sdk:android:2.0.3'
}
Since the SDK needs internet access, you need to add the following permission to your AndroidManifest.xml file:
<?xml version="1.0" encoding="utf-8"?>
<manifest xmlns:android="http://schemas.android.com/apk/res/android"
  xmlns:tools="http://schemas.android.com/tools">

  <!-- add internet permission -->
  <uses-permission android:name="android.permission.INTERNET" />

  <!-- other configurations... -->
</manifest>
Init LogtoClient
Create a LogtoViewModel.kt and init LogtoClient in this view model:
//...with other imports
import io.logto.sdk.android.LogtoClient
import io.logto.sdk.android.type.LogtoConfig

class LogtoViewModel(application: Application) : AndroidViewModel(application) {
    private val logtoConfig = LogtoConfig(
          endpoint = "<your-logto-endpoint>",
          appId = "<your-app-id>",
          scopes = null,
          resources = null,
          usingPersistStorage = true,
    )

    private val logtoClient = LogtoClient(logtoConfig, application)

    companion object {
        val Factory: ViewModelProvider.Factory = object : ViewModelProvider.Factory {
            @Suppress("UNCHECKED_CAST")
            override fun <T : ViewModel> create(
                modelClass: Class<T>,
                extras: CreationExtras
            ): T {
                // Get the Application object from extras
                val application = checkNotNull(extras[APPLICATION_KEY])
                return LogtoViewModel(application) as T
            }
        }
    }
}
then, create a LogtoViewModel for your MainActivity.kt:
//...with other imports
class MainActivity : AppCompatActivity() {
    private val logtoViewModel: LogtoViewModel by viewModels { LogtoViewModel.Factory }
    //...other codes
}
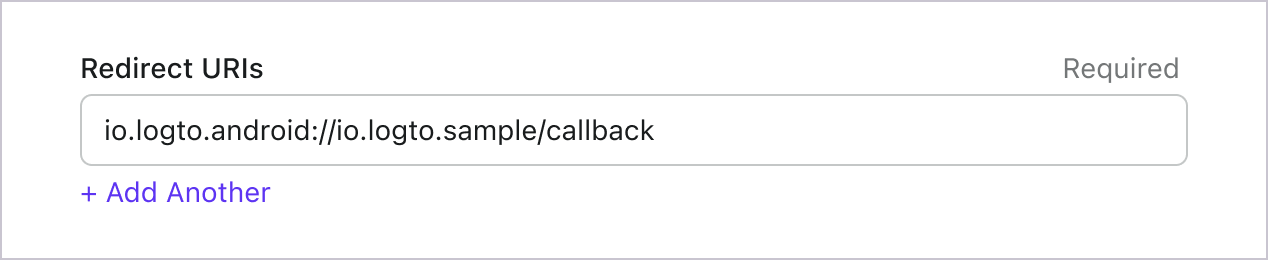
Configure redirect URI
Let's switch to the Application details page of Logto Console. Add a Redirect URI io.logto.android://io.logto.sample/callback and click "Save changes".
Implement sign-in and sign-out
Before calling logtoClient.signIn, make sure you have correctly configured Redirect URI
in Admin Console.
You can use logtoClient.signIn to sign in the user and logtoClient.signOut to sign out the user.
- v3 (beta)
- v2
In v3, logtoClient.signOut performs a complete sign-out: it clears the local credentials, revokes the refresh token, and ends the Logto session by opening the end session endpoint in the browser. The browser then navigates back to your app through the post sign-out redirect URI. Before using it, switch to the application details page of Logto Console, add the post sign-out redirect URI io.logto.android://io.logto.sample/callback and click "Save changes". The post sign-out redirect URI follows the same pattern as the redirect URI, and its scheme must also match the logtoRedirectScheme manifest placeholder.
For example, in an Android app:
//...with other imports
class LogtoViewModel(application: Application) : AndroidViewModel(application) {
    // ...other codes

    // Add a live data to observe the authentication status
    private val _authenticated = MutableLiveData(logtoClient.isAuthenticated)
    val authenticated: LiveData<Boolean>
        get() = _authenticated

    fun signIn(context: Activity) {
        logtoClient.signIn(context, "io.logto.android://io.logto.sample/callback") { logtoException ->
            logtoException?.let { println(it) }
            // Update the live data
            _authenticated.postValue(logtoClient.isAuthenticated)
        }
    }

    fun signOut(context: Activity) {
        logtoClient.signOut(context, "io.logto.android://io.logto.sample/callback") { logtoException ->
            logtoException?.let { println(it) }
            // Update the live data
            _authenticated.postValue(logtoClient.isAuthenticated)
        }
    }
}
Then call the signIn and signOut methods in your activity:
class MainActivity : AppCompatActivity() {
    override fun onCreate(savedInstanceState: Bundle?) {
        //...other codes

        // Assume you have a button with id "sign_in_button" in your layout
        val signInButton = findViewById<Button>(R.id.sign_in_button)
        signInButton.setOnClickListener {
            logtoViewModel.signIn(this)
        }

        // Assume you have a button with id "sign_out_button" in your layout
        val signOutButton = findViewById<Button>(R.id.sign_out_button)
        signOutButton.setOnClickListener {
            if (logtoViewModel.authenticated) { // Check if the user is authenticated
                logtoViewModel.signOut(this)
            }
        }

        // Observe the authentication status to update the UI
        logtoViewModel.authenticated.observe(this) { authenticated ->
            if (authenticated) {
                // The user is authenticated
                signInButton.visibility = View.GONE
                signOutButton.visibility = View.VISIBLE
            } else {
                // The user is not authenticated
                signInButton.visibility = View.VISIBLE
                signOutButton.visibility = View.GONE
            }
        }

    }
}
- You can also call
logtoClient.signOut(context)without a post sign-out redirect URI. No Console configuration is needed in this case: the browser shows the Logto sign-out page, and the user returns to the app by dismissing it manually. - If no UI context is available, you can call
logtoClient.clearCredentialsto clear the local credentials and revoke the refresh token. Note that this keeps the Logto session in the browser, so the nextsignInmay silently sign the user back in through that session.
For example, in an Android app:
//...with other imports
class LogtoViewModel(application: Application) : AndroidViewModel(application) {
    // ...other codes

    // Add a live data to observe the authentication status
    private val _authenticated = MutableLiveData(logtoClient.isAuthenticated)
    val authenticated: LiveData<Boolean>
        get() = _authenticated

    fun signIn(context: Activity) {
        logtoClient.signIn(context, "io.logto.android://io.logto.sample/callback") { logtoException ->
            logtoException?.let { println(it) }
            // Update the live data
            _authenticated.postValue(logtoClient.isAuthenticated)
        }
    }

    fun signOut() {
        logtoClient.signOut { logtoException ->
            logtoException?.let { println(it) }
            // Update the live data
            _authenticated.postValue(logtoClient.isAuthenticated)
        }
    }
}
Then call the signIn and signOut methods in your activity:
class MainActivity : AppCompatActivity() {
    override fun onCreate(savedInstanceState: Bundle?) {
        //...other codes

        // Assume you have a button with id "sign_in_button" in your layout
        val signInButton = findViewById<Button>(R.id.sign_in_button)
        signInButton.setOnClickListener {
            logtoViewModel.signIn(this)
        }

        // Assume you have a button with id "sign_out_button" in your layout
        val signOutButton = findViewById<Button>(R.id.sign_out_button)
        signOutButton.setOnClickListener {
            if (logtoViewModel.authenticated) { // Check if the user is authenticated
                logtoViewModel.signOut()
            }
        }

        // Observe the authentication status to update the UI
        logtoViewModel.authenticated.observe(this) { authenticated ->
            if (authenticated) {
                // The user is authenticated
                signInButton.visibility = View.GONE
                signOutButton.visibility = View.VISIBLE
            } else {
                // The user is not authenticated
                signInButton.visibility = View.VISIBLE
                signOutButton.visibility = View.GONE
            }
        }

    }
}
Checkpoint: Test your application
Now, you can test your application:
- Run your application, you will see the sign-in button.
- Click the sign-in button, the SDK will init the sign-in process and redirect you to the Logto sign-in page.
- After you signed in, you will be redirected back to your application and see the sign-out button.
- Click the sign-out button to clear token storage and sign out.
Add DingTalk connector
To enable quick sign-in and improve user conversion, connect with Android as an identity provider. The Logto social connector helps you establish this connection in minutes by allowing several parameter inputs.
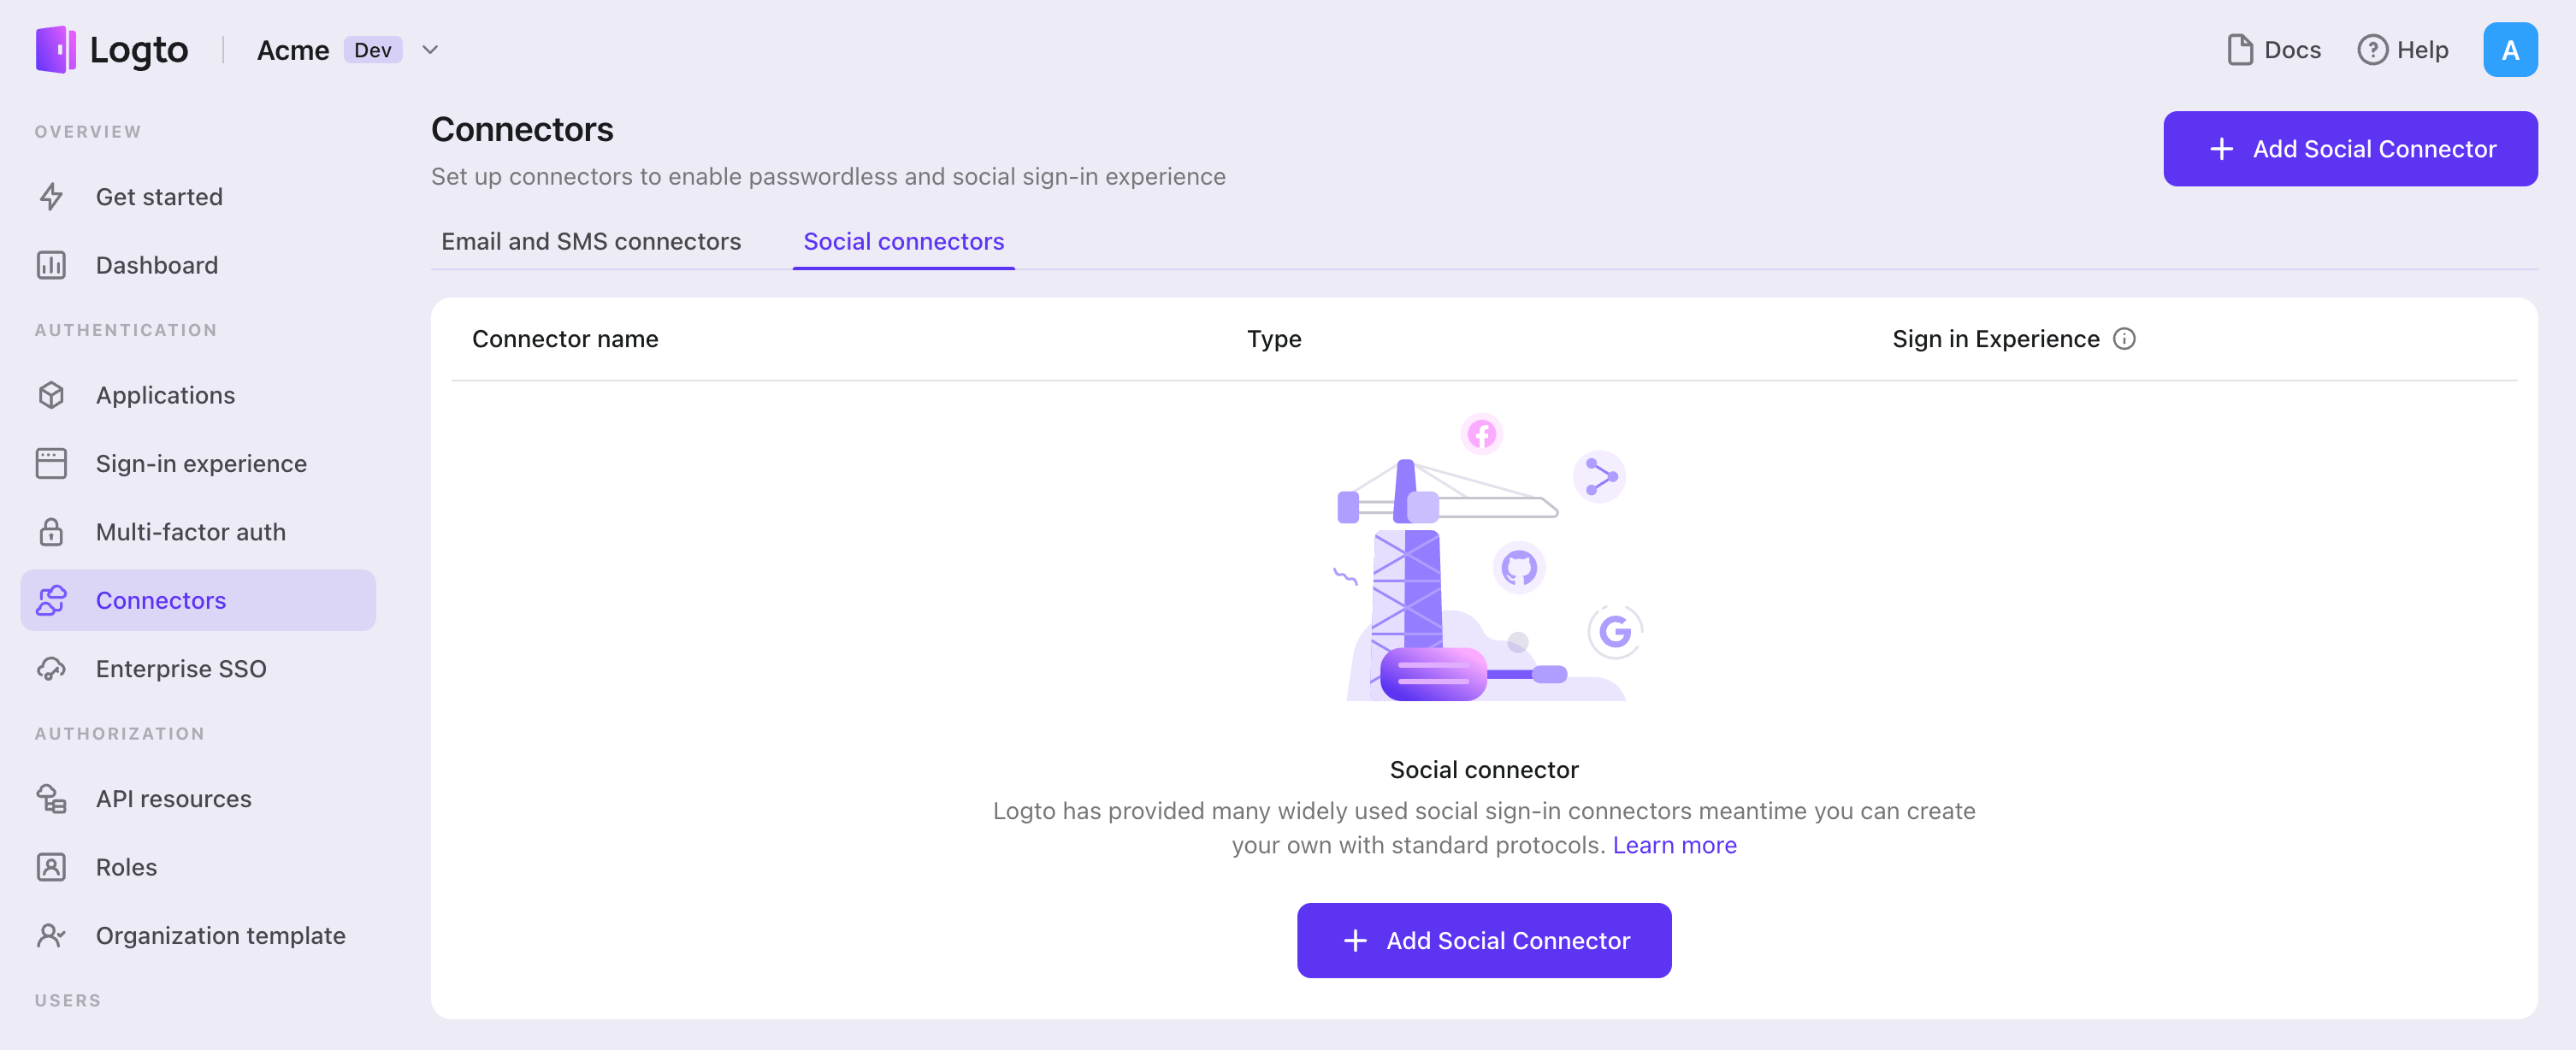
To add a social connector, simply follow these steps:
- Navigate to Console > Connectors > Social Connectors.
- Click "Add social connector" and select "DingTalk".
- Follow the README guide and complete required fields and customize settings.
If you are following the in-place Connector guide, you can skip the next section.
Set up DingTalk OAuth app
Create a web app in the DingTalk Open Platform
Tips: You can skip some sections if you have already finished.
Register a DingTalk developer account
If you do not have a DingTalk developer account, please register at the DingTalk Open Platform.
Create an application
- In the DingTalk Open Platform "Application Development" > "Internal Enterprise Application" > "DingTalk Application", click "Create Application"
- Fill in the application name and description, and click "Save"
- In the left navigation bar, select "Development Configuration" > "Security Settings", find and configure the "Redirect URL"
${your_logto_origin}/callback/${connector_id}. You can find theconnector_idon the connector details page after adding the respective connector in the management console - In the left navigation bar, select "Basic Information" > "Credentials and Basic Information" to get the
Client IDandClient Secret
Configure permissions
In "Development Configuration" > "Permission Management", select Contact.User.Read and Contact.User.mobile permissions and authorize them
Release Application
In the left navigation bar, select "Application Release" > "Version Management and Release", create and release the first version to activate the Client ID and Client Secret
If the application does not release a version, the obtained "Client ID" and "Client Secret" cannot be used, or requests will fail.
Configure your connector
Fill out the clientId and clientSecret fields with Client ID(formerly AppKey and SuiteKey) and Client Secret(formerly AppKey and SuiteKey) you've got from OAuth app detail pages mentioned in the previous section.
scope currently supports two values: openid and openid corpid. openid allows obtaining the user's userid after authorization, while openid corpid allows obtaining both the user's id and the organization id selected during the login process. The values should be space-delimited. Note: URL encoding is required.
Config types
| Name | Type |
|---|---|
| clientId | string |
| clientSecret | string |
| scope | string |
Test DingTalk connector
That's it. The DingTalk connector should be available now. Don't forget to Enable connector in Sign-up and sign-in.
Once DingTalk web connector is enabled, you can sign in to your app again to see if it works.
Please ensure strict compliance with the usage specifications and development guidelines of the DingTalk Open Platform during the development process.
Support
If you have any questions or need further assistance, please visit the DingTalk Developer Documentation or contact DingTalk technical support.
Save your configuration
Double check you have filled out necessary values in the Logto connector configuration area. Click "Save and Done" (or "Save changes") and the DingTalk connector should be available now.
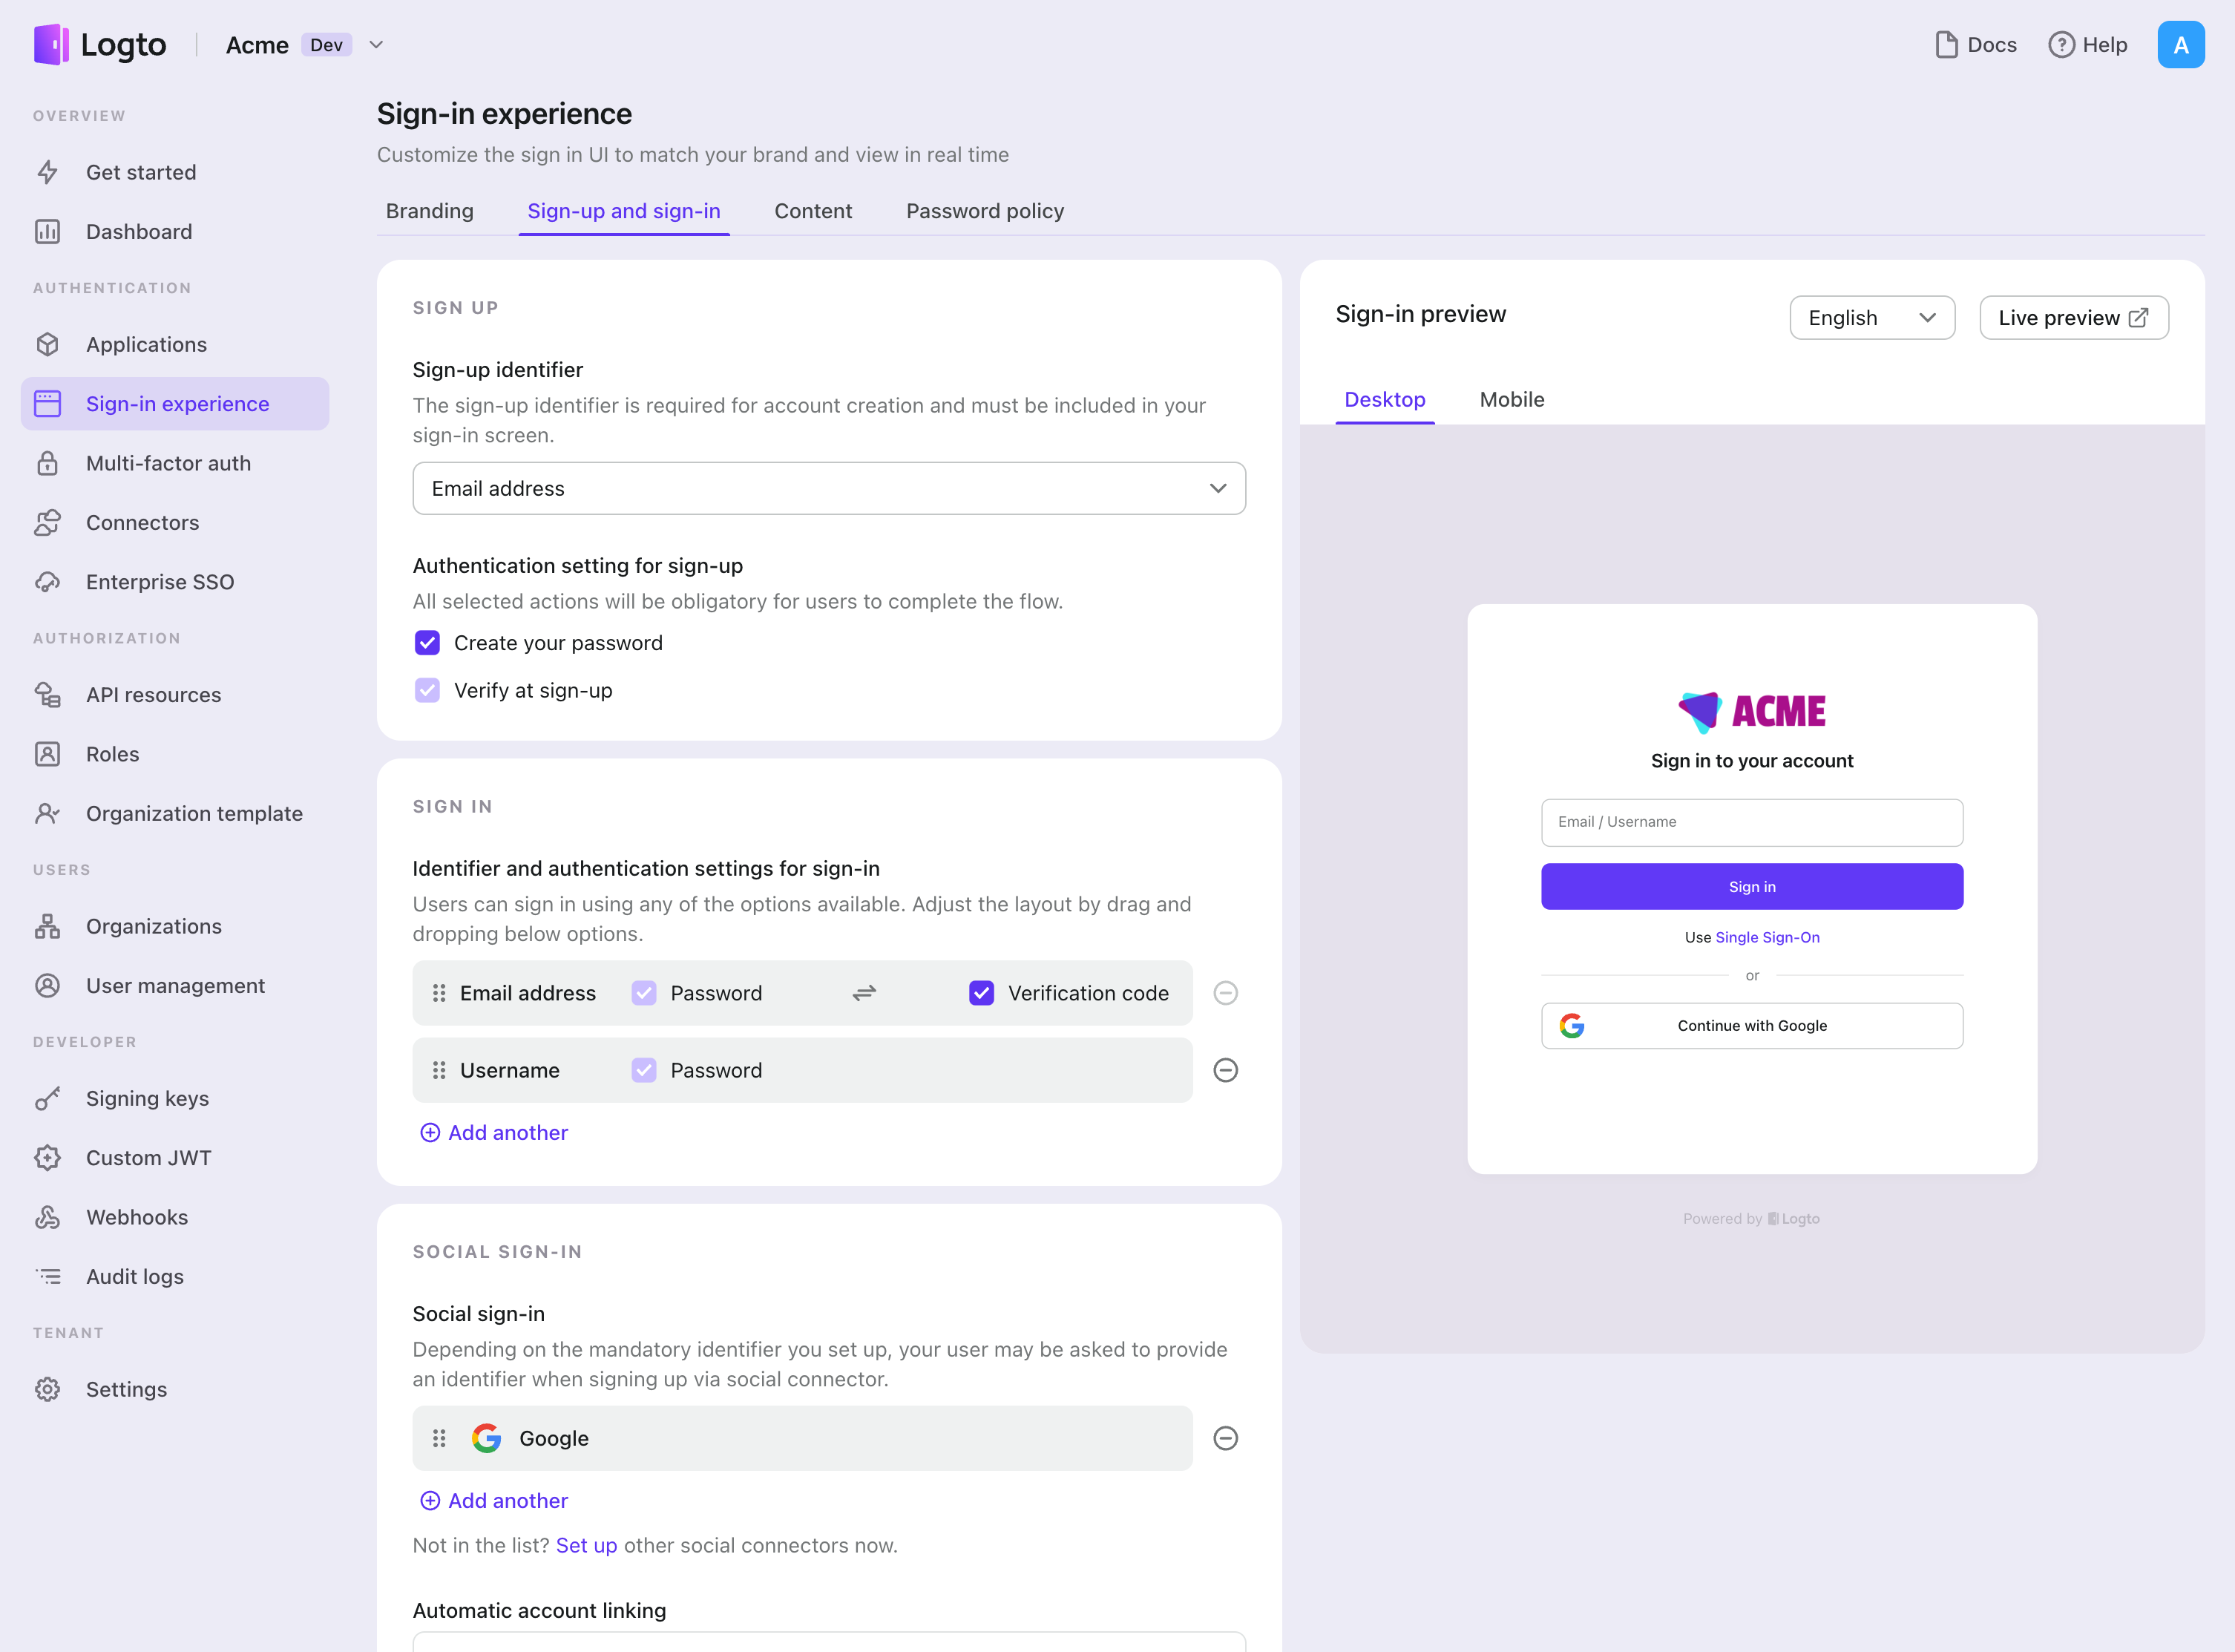
Enable DingTalk connector in Sign-in Experience
Once you create a social connector successfully, you can enable it as a "Continue with DingTalk" button in Sign-in Experience.
- Navigate to Console > Sign-in & account > Sign-up and sign-in.
- (Optional) Choose "Not applicable" for sign-up identifier if you need social login only.
- Add configured DingTalk connector to the "Social sign-in" section.
Testing and Validation
Return to your Android (Kotlin / Java) app. You should now be able to sign in with DingTalk. Enjoy!
Further readings
End-user flows: Logto provides a out-of-the-box authentication flows including MFA and enterprise SSO, along with powerful APIs for flexible implementation of account settings, security verification, and multi-tenant experience.
Authorization: Authorization defines the actions a user can do or resources they can access after being authenticated. Explore how to protect your API for native and single-page applications and implement Role-based Access Control (RBAC).
Organizations: Particularly effective in multi-tenant SaaS and B2B apps, the organization feature enable tenant creation, member management, organization-level RBAC, and just-in-time-provisioning.
Customer IAM series Our serial blog posts about Customer (or Consumer) Identity and Access Management, from 101 to advanced topics and beyond.