Logto is an Auth0 alternative designed for modern apps and SaaS products. It offers both Cloud and Open-source services to help you quickly launch your identity and management (IAM) system. Enjoy authentication, authorization, and multi-tenant management all in one.
We recommend starting with a free development tenant on Logto Cloud. This allows you to explore all the features easily.
In this article, we will go through the steps to quickly build the Mailgun sign-in experience (user authentication) with WordPress plugin and Logto.
Prerequisites
- A running Logto instance. Check out the introduction page to get started.
- Basic knowledge of WordPress plugin.
- A usable Mailgun account.
Create an application in Logto
Logto is based on OpenID Connect (OIDC) authentication and OAuth 2.0 authorization. It supports federated identity management across multiple applications, commonly called Single Sign-On (SSO).
To create your Traditional web application, simply follow these steps:
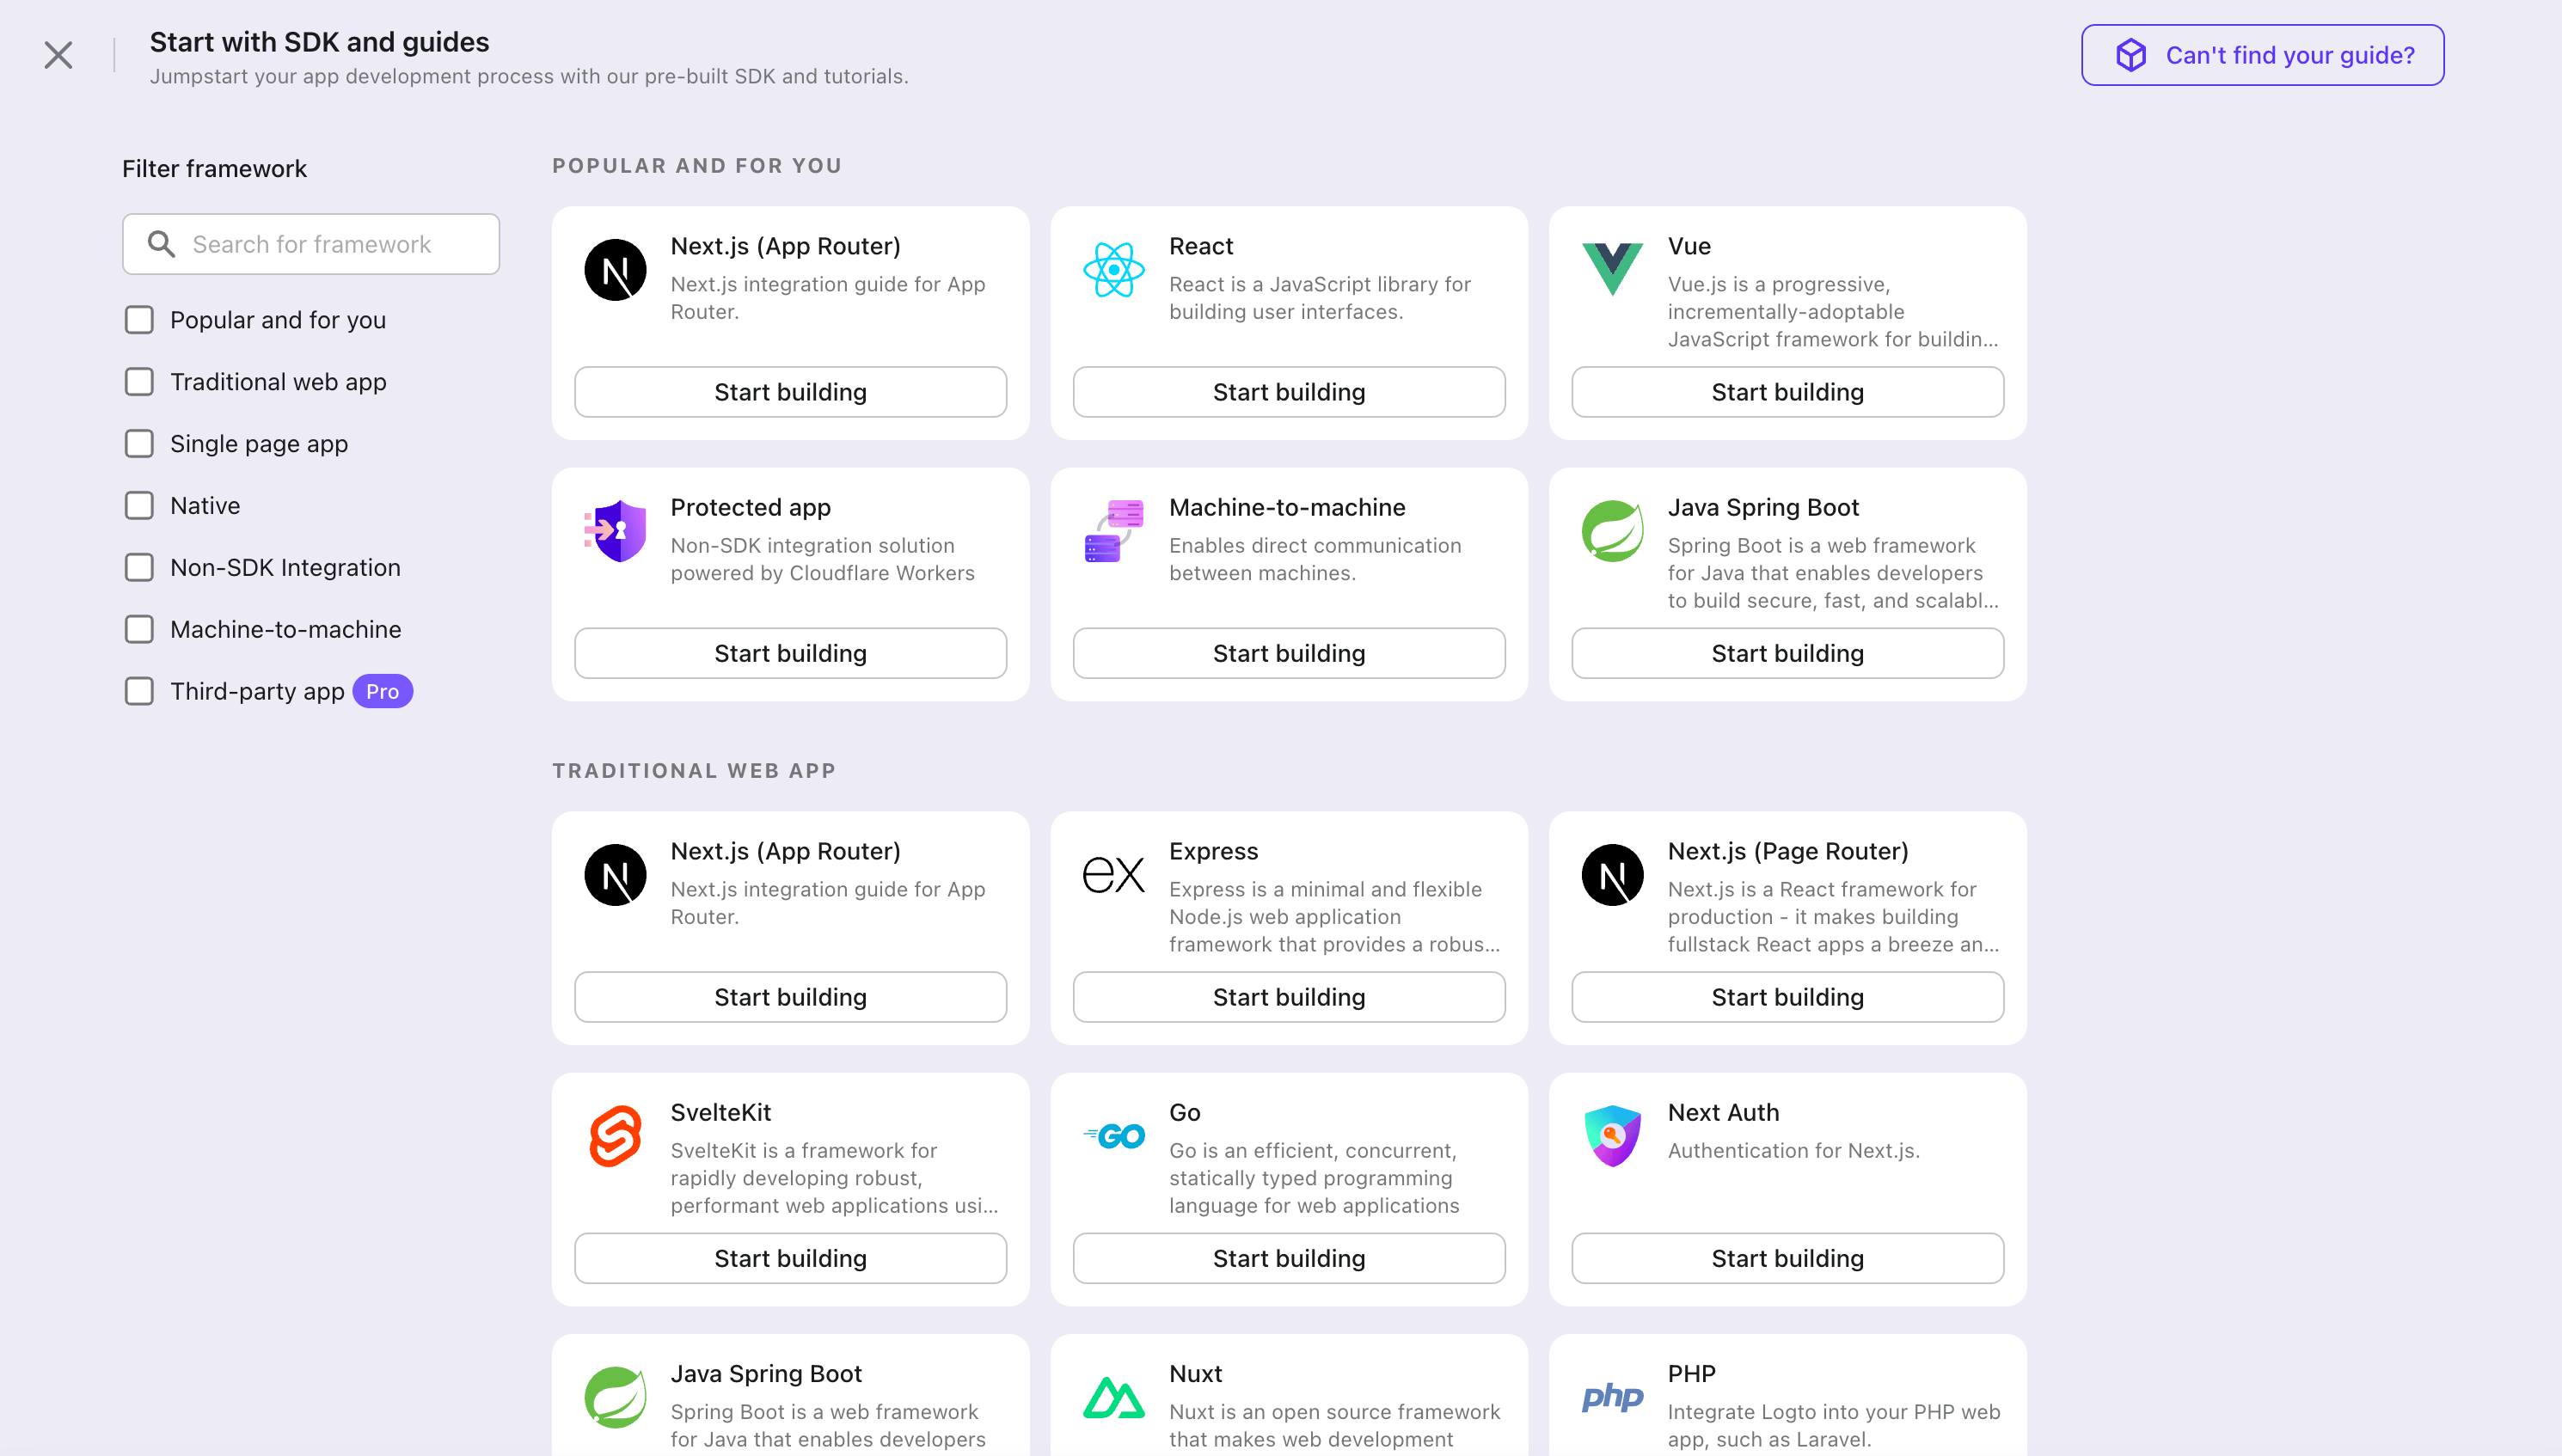
- Open the Logto Console. In the "Get started" section, click the "View all" link to open the application frameworks list. Alternatively, you can navigate to Logto Console > Applications, and click the "Create application" button.
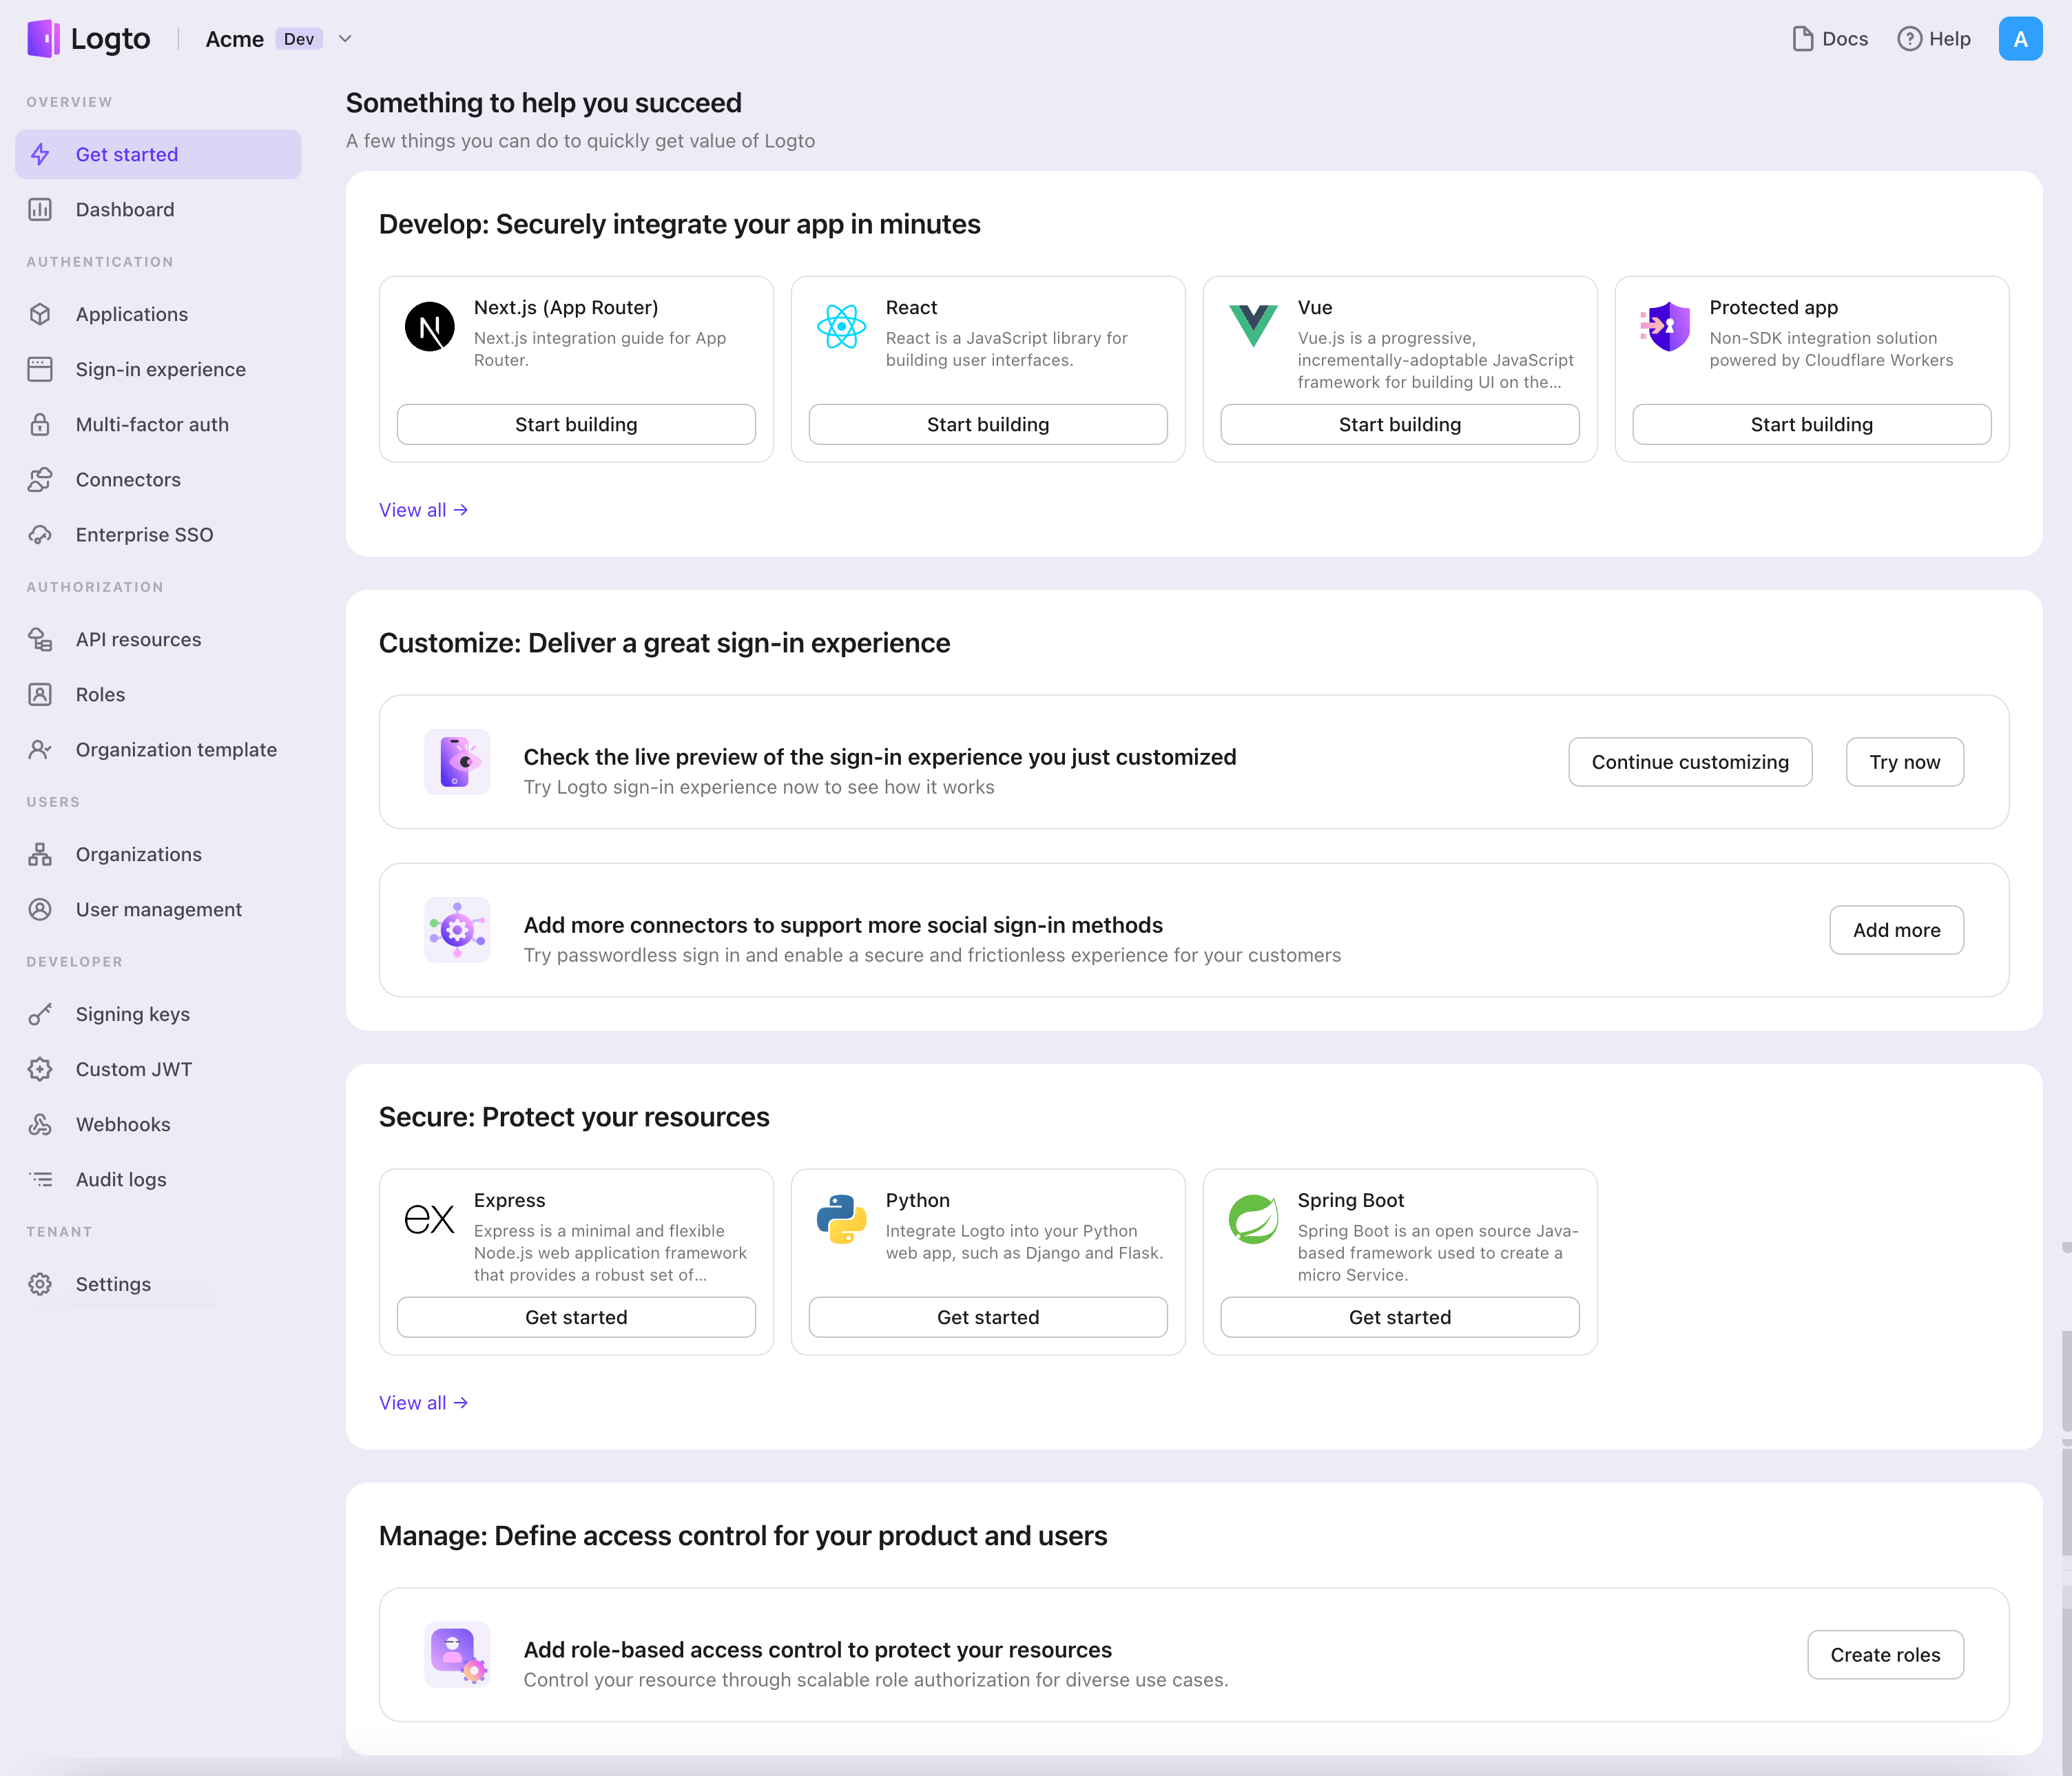
- In the opening modal, click the "Traditional web" section or filter all the available "Traditional web" frameworks using the quick filter checkboxes on the left. Click the "WordPress" framework card to start creating your application.
- Enter the application name, e.g., "Bookstore," and click "Create application".
🎉 Ta-da! You just created your first application in Logto. You'll see a congrats page which includes a detailed integration guide. Follow the guide to see what the experience will be in your application.
Integrate WordPress with Logto
Install the plugin
- From WordPress admin panel
- From upload
- Go to Plugins > Add New.
- Search for "Logto", or enter https://wordpress.org/plugins/logto/ in the search box.
- Click Install Now.
- Click Activate.
- Download the Logto WordPress plugin from one of the following links:
- Latest release: Download the file which name in the format of
logto-plugin-<version>.zip. - WordPress plugin directory: Download the file by clicking the Download button.
- Latest release: Download the file which name in the format of
- Download the plugin ZIP file.
- Go to Plugins > Add New in your WordPress admin panel.
- Click Upload Plugin.
- Select the downloaded ZIP file and click Install Now.
- Click Activate.
Configure the plugin
Now you should be able to see the Logto menu in your WordPress admin panel sidebar. Click Logto > Settings to configure the plugin.
You should have a traditional web application created in Logto Console before configuring the plugin. If you haven't created one, please refer to Integrate Logto into your application for more information.
The minimum configuration to get started for the plugin is:
- Logto endpoint: The endpoint of your Logto tenant.
- App ID: The app ID of your Logto application.
- App secret: One of the valid app secrets of your Logto application.
All values can be found on the application details page in Logto Console.
After filling in the values, click Save Changes (scroll down to the bottom of the page if you can't find the button).
Configure redirect URI
The redirect URI is the URL to which Logto will redirect users after they have authenticated; and the post sign-out redirect URI is the URL to which Logto will redirect users after they have logged out.
Here's a non-normative sequence diagram to illustrate the sign-in flow:
Here's how the sign-out flow looks like in a non-normative sequence diagram:
To learn more about why redirect is needed, see Sign-in experience explained.
In our case, we need to configure both redirect URIs in your Logto Console. To find the redirect URI, go to the Logto > Settings page in your WordPress admin panel. You'll see the Redirect URI and Post sign-out redirect URI fields.
- Copy the Redirect URI and Post sign-out redirect URI values and paste them into the Redirect URIs and Post sign-out redirect URIs fields in your Logto Console.
- Click Save changes in Logto Console.
Checkpoint: Test your WordPress website
Now you can test your Logto integration in your WordPress website:
- Open an incognito browser window if needed.
- Visit your WordPress website and click the Log in link if applicable; or directly visit the login page (e.g.,
https://example.com/wp-login.php). - The page should redirect you to the Logto sign-in page.
- Complete the sign-in or sign-up process.
- After successful authentication, you should be redirected back to your WordPress website and logged in automatically.
- Click the Log out link to log out of your WordPress website.
- You should be redirected to the Logto sign-out page, then back to your WordPress website.
- You should be logged out of your WordPress website.
To learn more about the WordPress plugin settings, see WordPress quick start.
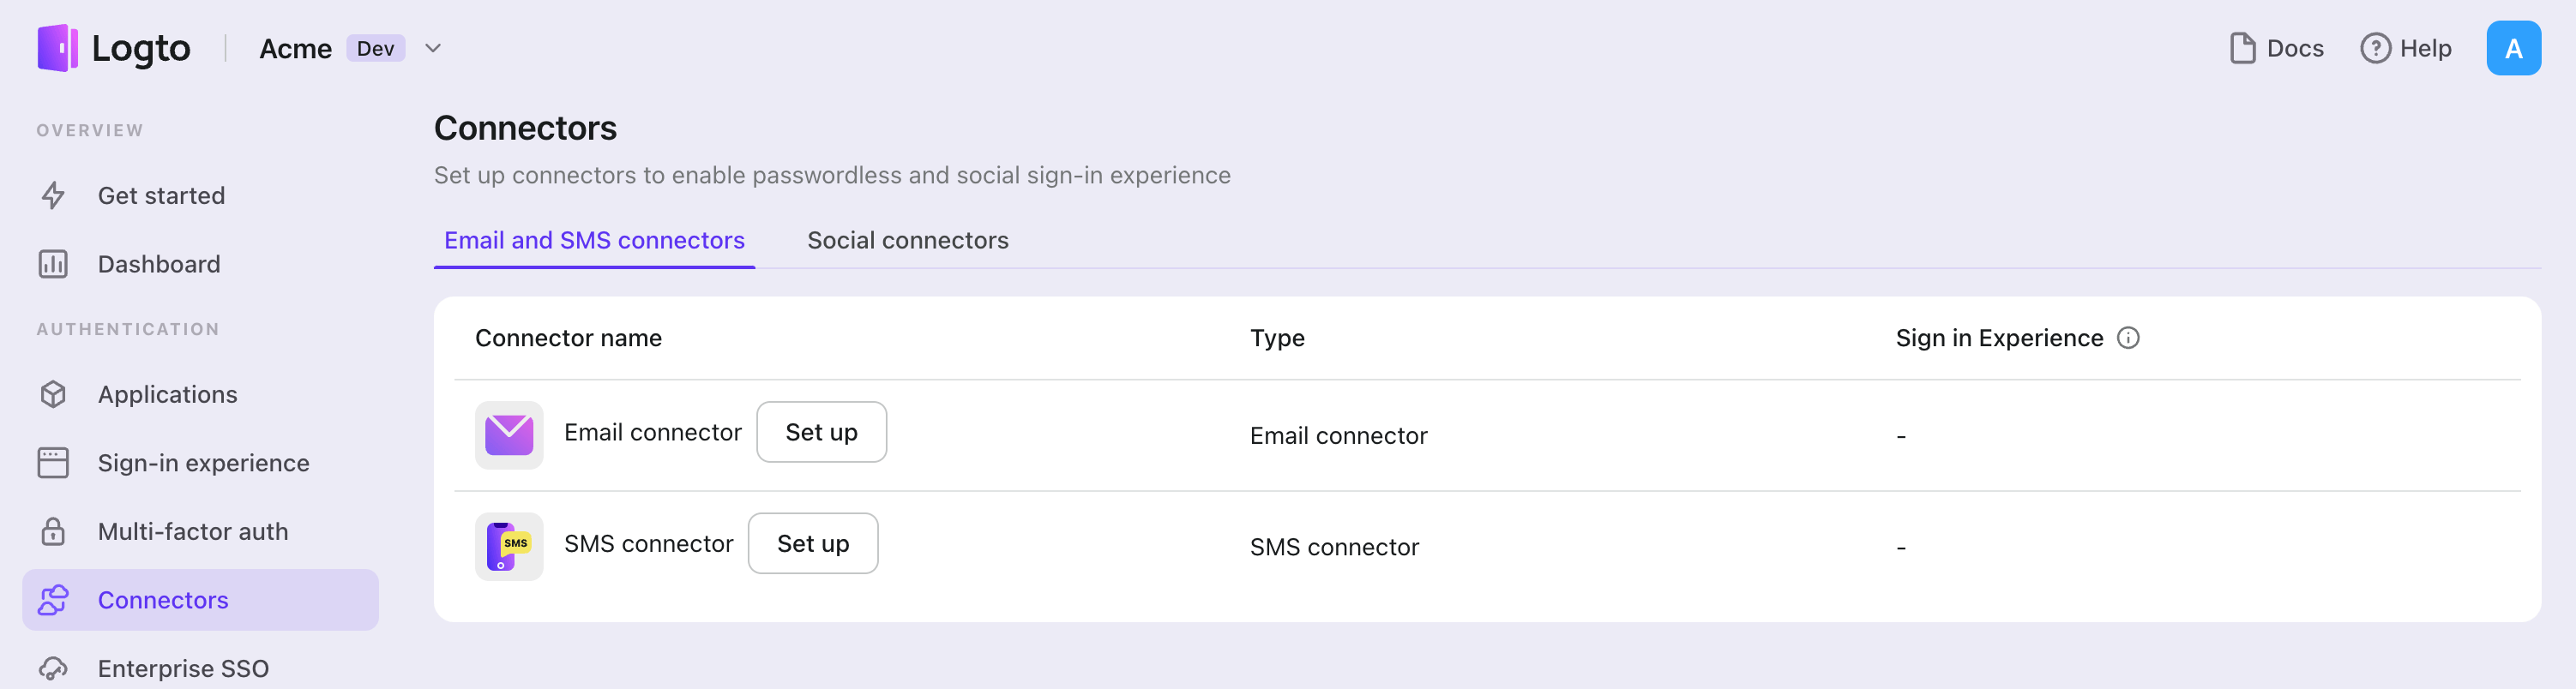
Add Mailgun connector
Email connector is a method used to send one-time passwords (OTPs) for authentication. It enables Email address verification to support passwordless authentication, including Email-based registration, sign-in, two-factor authentication (2FA), and account recovery. You can easily connect Mailgun as your Email provider. With the Logto Email connector, you can set this up in just a few minutes.
To add a Email connector, simply follow these steps:
- Navigate to Console > Connector > Email and SMS connectors.
- To add a new Email connector, click the "Set up" button and select "Mailgun".
- Review the README documentation for your selected provider.
- Complete the configuration fields in the "Parameter Configuration" section.
- Customize the Email template using the JSON editor.
- Test your configuration by sending a verification code to your Email address.
If you are following the in-place Connector guide, you can skip the next section.
Set up Mailgun email connector
Prerequisites
- A Mailgun account
- An API key from your Mailgun account, requires the permission to send messages (emails). See Where Can I Find My API Key and SMTP Credentials? for more information.
Basic configuration
- Fill out the
endpointfield when you are using a different Mailgun API endpoint, for example, EU region should behttps://api.eu.mailgun.net. The default value ishttps://api.mailgun.net. - Fill out the
domainfield with the domain you have registered in your Mailgun account. This value can be found in the Domains section of the Mailgun dashboard. The domain should be in the formatexample.com, without thehttps://orhttp://prefix. - Fill out the
apiKeyfield with the API key you have generated in your Mailgun account. - Fill out the
fromfield with the email address you want to send emails from. This email address must be registered in your Mailgun account. The email address should be in the formatSender Name \<[email protected]>.
Deliveries
Config object
The "Deliveries" section allows you to configure the content of the emails to be sent in different scenarios. It is a JSON key-value map where the key is the usage type and the value is an object containing the content config for the email to be sent.
{
  "<usage-type>": {
    // ...
  }
}
Usage types
The following usage types are supported:
Register: The email to be sent when a user is registering.SignIn: The email to be sent when a user is signing in.ForgotPassword: The email to be sent when a user is resetting their password.Generic: The email to be sent when a user is performing a generic action, for example, testing the email connector.
If the usage type is not specified in the deliveries config, the generic email will be sent. If the generic email is not specified, the connector will return an error.
Content config
The connector supports both direct HTML content and Mailgun template. You can use one of them for each usage type.
In both subject and content, you can use the {{code}} placeholder to insert the verification code.
To use direct HTML content, fill out the following fields:
subject: The subject of the email to be sent.replyTo: The email address to be used as the reply-to address.html: (Required) The HTML content of the email to be sent.text: The plain text version of the email to be sent.
To use Mailgun template, fill out the following fields:
subject: The subject of the email to be sent.replyTo: The email address to be used as the reply-to address.template: (Required) The name of the Mailgun template to be used.variables: The variables to be passed to the Mailgun template. Should be a JSON key-value map since it will be stringified before sending to Mailgun. Note there's no need to include thecodevariable since it will be automatically added by the connector.
Example
The following is an example of the deliveries config:
{
  "Register": {
    "subject": "{{code}} is your verification code",
    "replyTo": "Foo <[email protected]>",
    "html": "<h1>Welcome to Logto</h1><p>Your verification code is {{code}}.</p>",
    "text": "Welcome to Logto. Your verification code is {{code}}."
  },
  "SignIn": {
    "subject": "Welcome back to Logto",
    "replyTo": "Foo <[email protected]>",
    "template": "logto-sign-in",
    "variables": {
      "bar": "baz"
    }
  }
}
Save your configuration
Double check you have filled out necessary values in the Logto connector configuration area. Click "Save and Done" (or "Save changes") and the Mailgun connector should be available now.
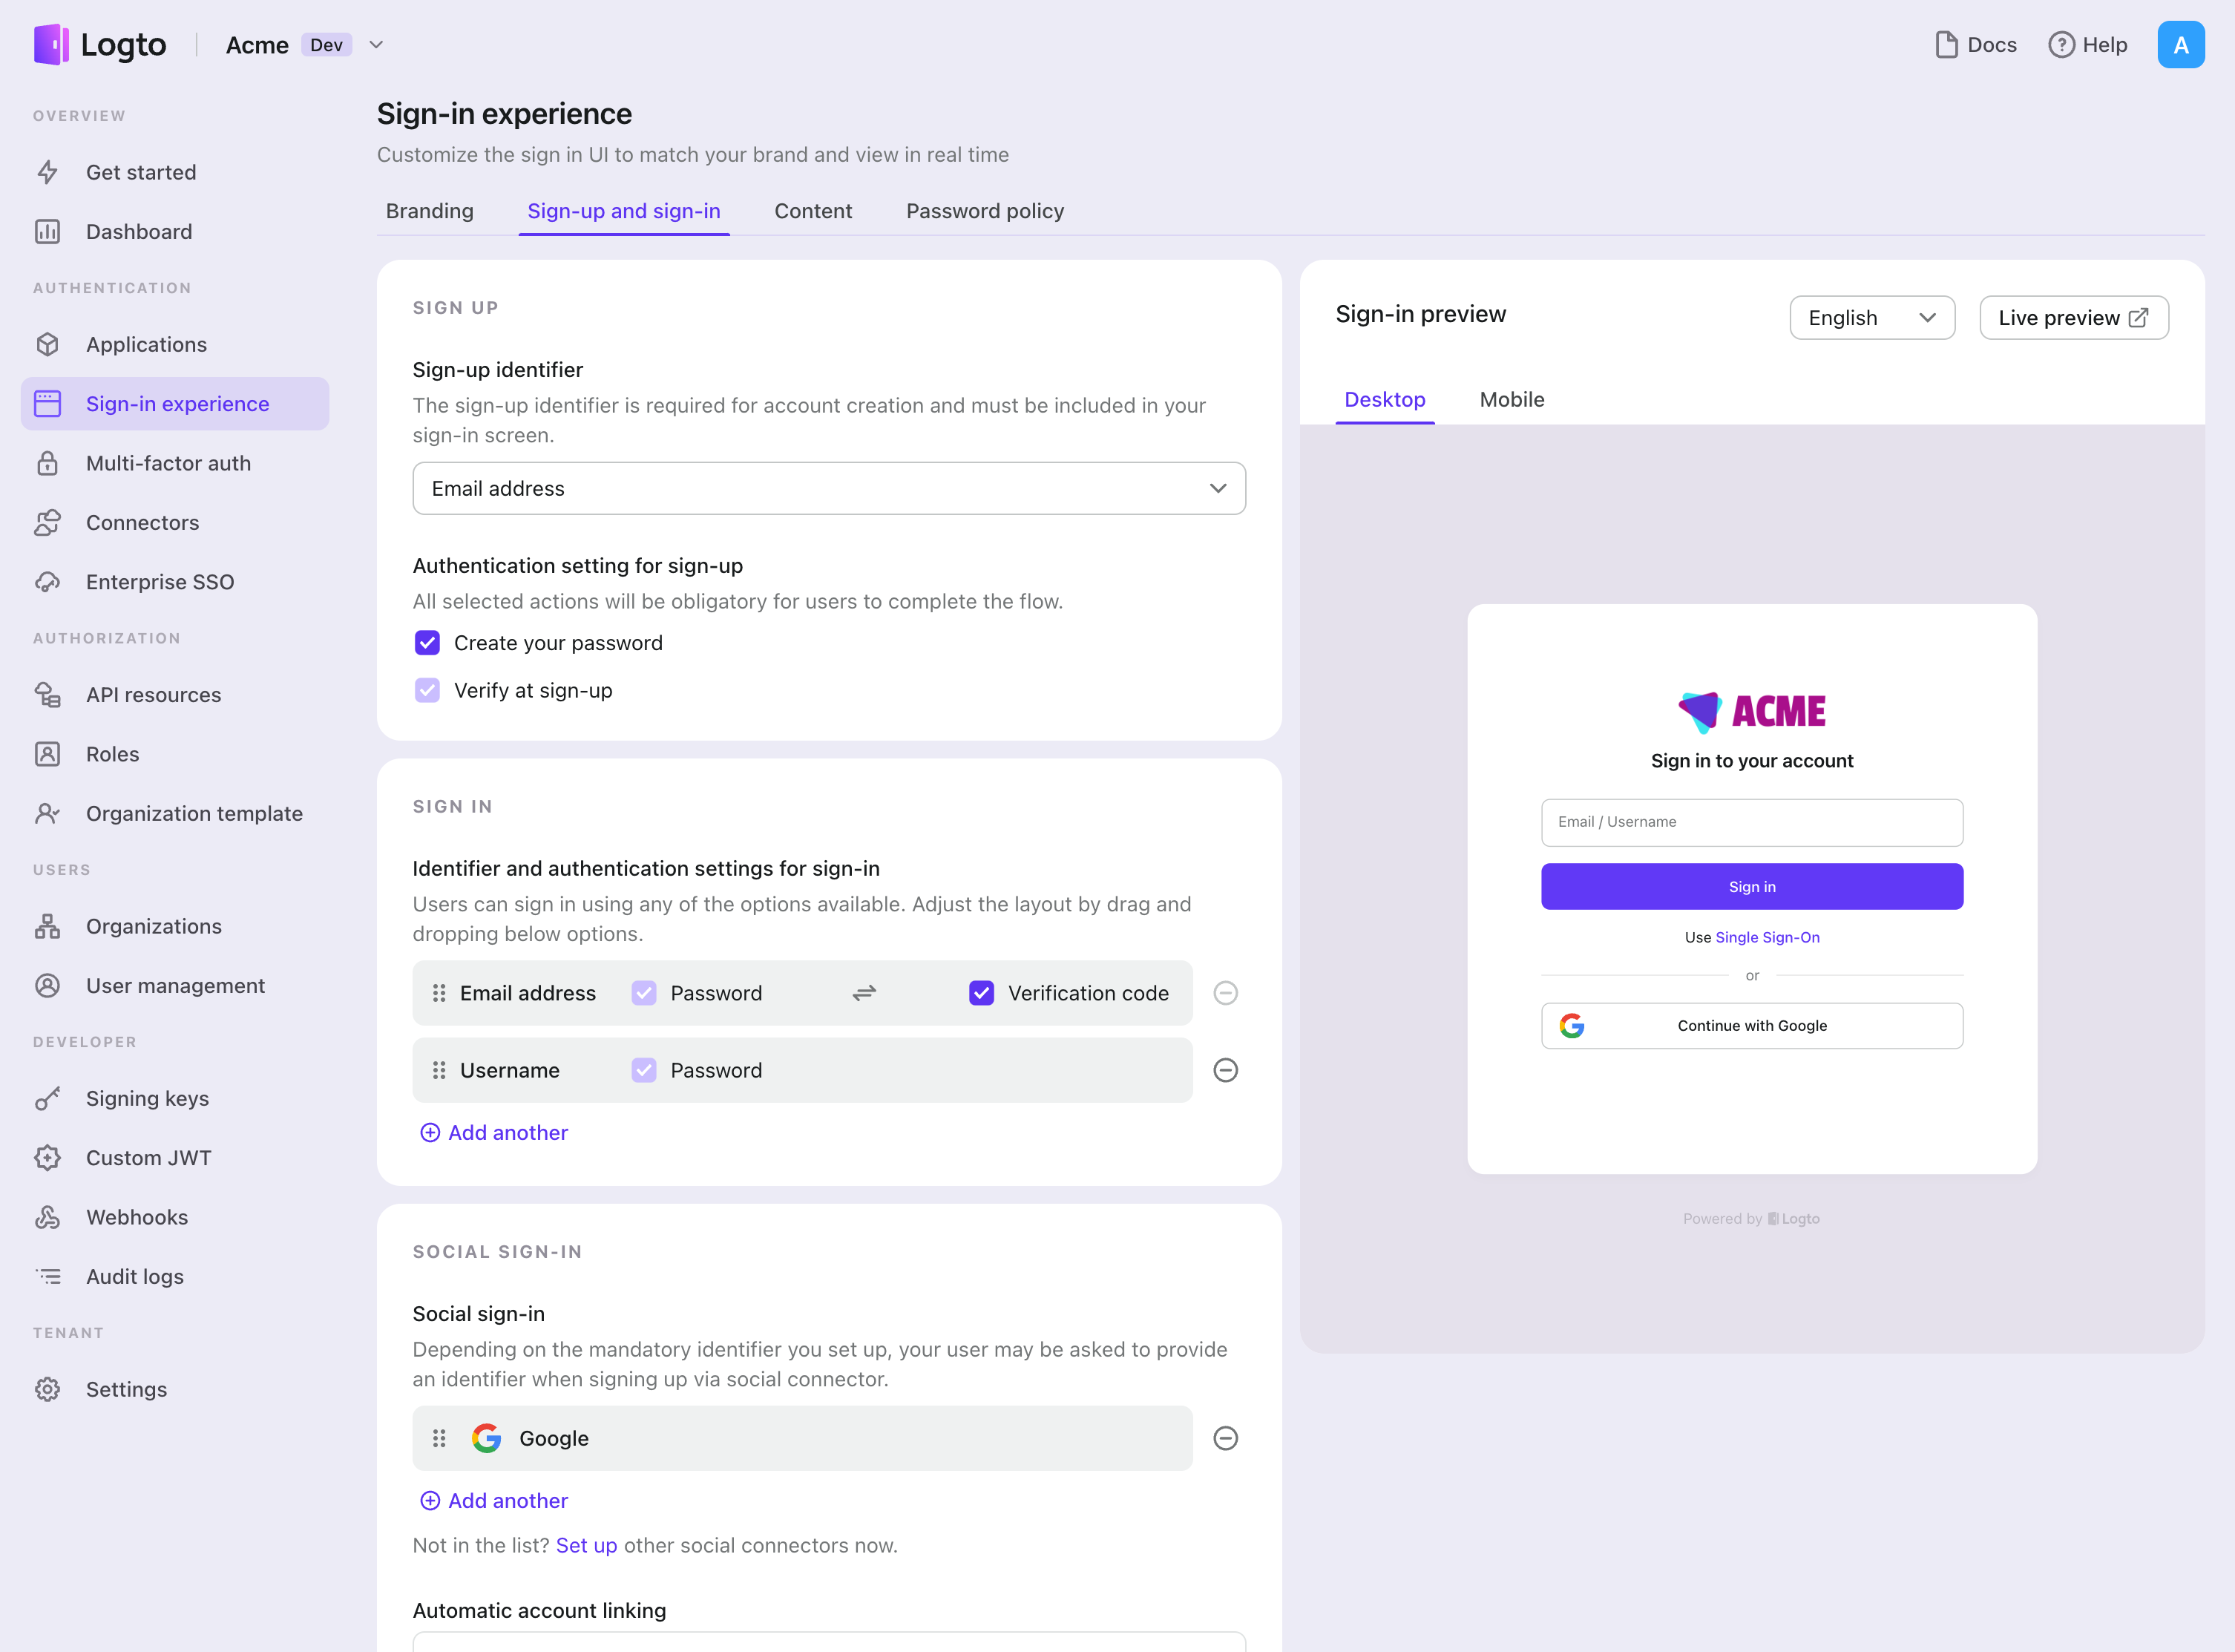
Enable Mailgun connector in Sign-in Experience
Once you create a connector successfully, you can enable phone number-based passwordless login and registration.
- Navigate to Console > Sign-in experience > Sign-up and sign-in.
- Set up sign-up methods (Optional):
- Select "Email address" or "Email or phone number" as the sign-up identifier.
- "Verify at sign-up" is forced to be enabled. You can also enable "Create a password" on registration.
- Set up sign-in methods:
- Select Email address as one of sign-in identifiers. You can provide multiple available identifiers (email, phone number, and username).
- Select "Verification code" and / or "Password" as the authentication factor.
- Click "Save changes" and test it in "Live preview".
In addition to registration and login via OTPs, you can also have password recovery and -based security verification enabled, as well as linking Email address to profile. See End-user flows for more details.
Testing and Validation
Return to your WordPress plugin app. You should now be able to sign in with Mailgun. Enjoy!
Further readings
End-user flows: Logto provides a out-of-the-box authentication flows including MFA and enterprise SSO, along with powerful APIs for flexible implementation of account settings, security verification, and multi-tenant experience.
Authorization: Authorization defines the actions a user can do or resources they can access after being authenticated. Explore how to protect your API for native and single-page applications and implement Role-based Access Control (RBAC).
Organizations: Particularly effective in multi-tenant SaaS and B2B apps, the organization feature enable tenant creation, member management, organization-level RBAC, and just-in-time-provisioning.
Customer IAM series Our serial blog posts about Customer (or Consumer) Identity and Access Management, from 101 to advanced topics and beyond.