Logto is an Auth0 alternative designed for modern apps and SaaS products. It offers both Cloud and Open-source services to help you quickly launch your identity and management (IAM) system. Enjoy authentication, authorization, and multi-tenant management all in one.
We recommend starting with a free development tenant on Logto Cloud. This allows you to explore all the features easily.
In this article, we will go through the steps to quickly build the Alipay (Native) sign-in experience (user authentication) with Webflow and Logto.
Prerequisites
- A running Logto instance. Check out the introduction page to get started.
- Basic knowledge of Webflow.
- A usable Alipay (Native) account.
Create an application in Logto
Logto is based on OpenID Connect (OIDC) authentication and OAuth 2.0 authorization. It supports federated identity management across multiple applications, commonly called Single Sign-On (SSO).
To create your Single page app application, simply follow these steps:
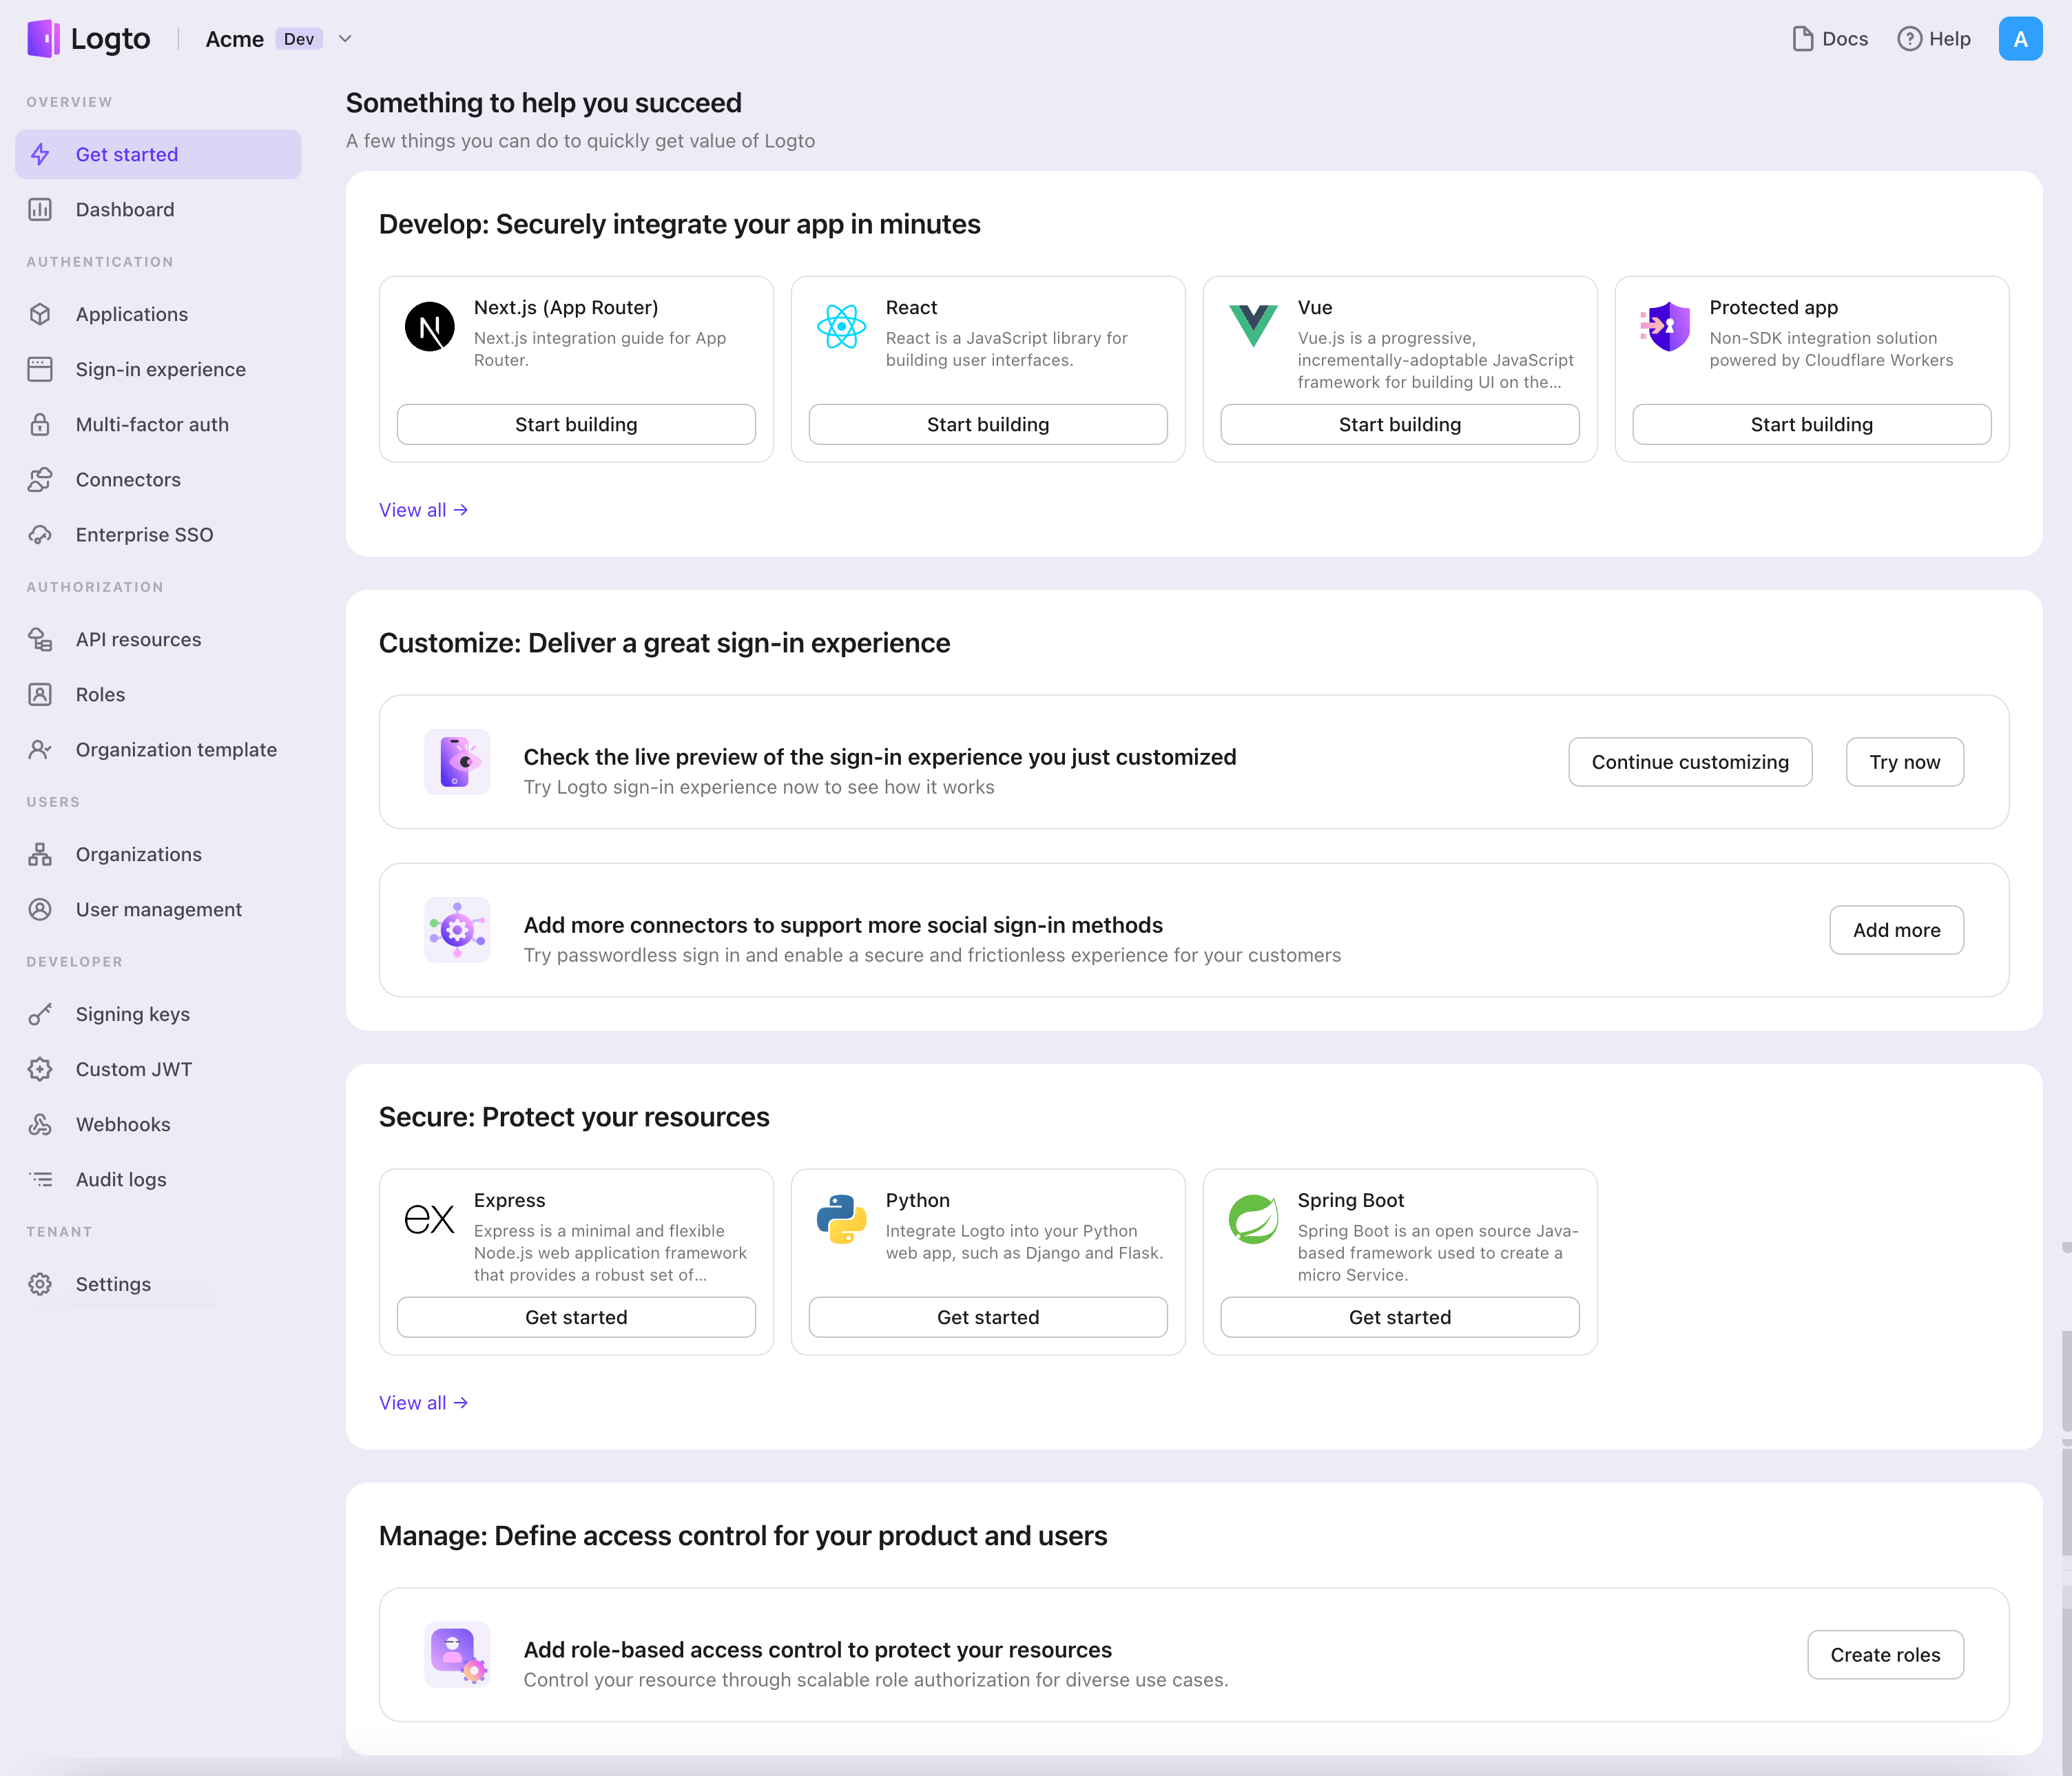
- Open the Logto Console. In the "Get started" section, click the "View all" link to open the application frameworks list. Alternatively, you can navigate to Logto Console > Applications, and click the "Create application" button.
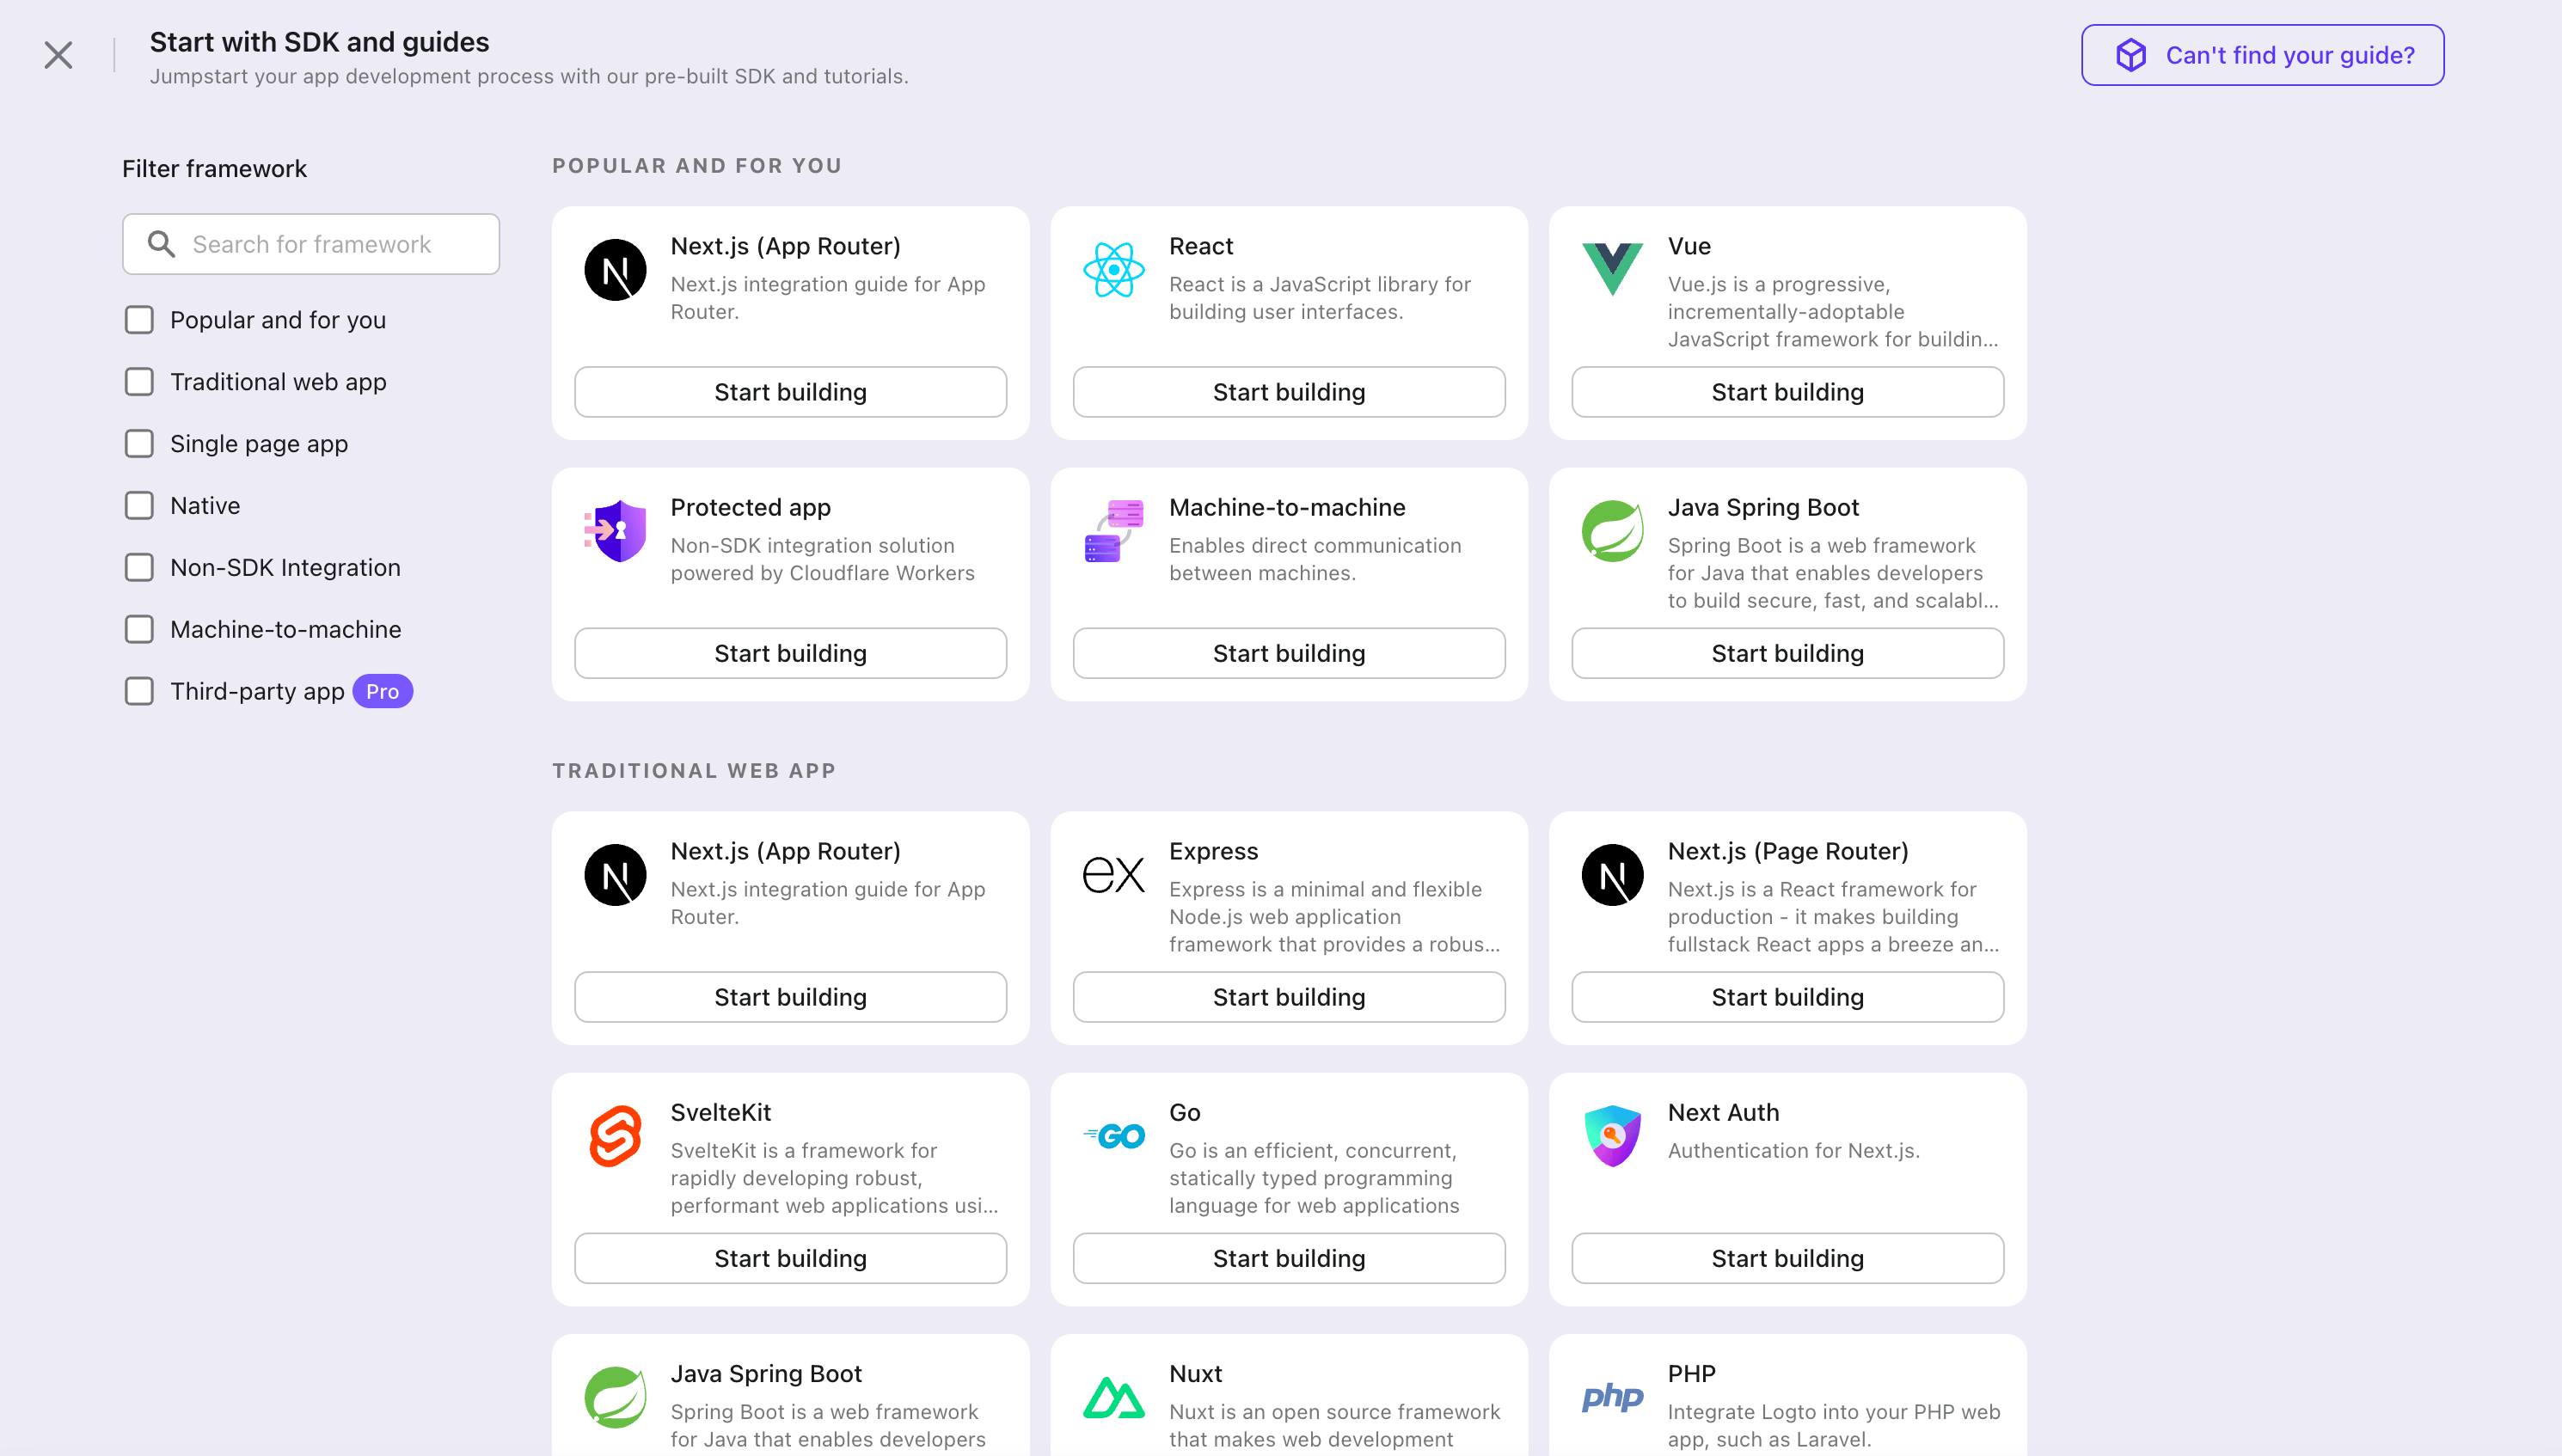
- In the opening modal, click the "Single page app" section or filter all the available "Single page app" frameworks using the quick filter checkboxes on the left. Click the "Webflow" framework card to start creating your application.
- Enter the application name, e.g., "Bookstore," and click "Create application".
🎉 Ta-da! You just created your first application in Logto. You'll see a congrats page which includes a detailed integration guide. Follow the guide to see what the experience will be in your application.
Integrate Webflow with Logto
The sample project is available at Webflow project preview.
Init Logto Provider
In the following steps, we assume your Webflow site is running on https://your-awesome-site.webflow.io.
In this step, we'll add global-level custom code to your Webflow site. Since NPM is not supported in Webflow, we'll use the jsdelivr.com CDN service to import the Logto SDK.
Open the "Site settings" page, and navigate to the "Custom code" section. Add the following code to the "Head code" section.
<script type="module">
  // Import \`@logto/browser\` SDK from the jsdelivr CDN
  import LogtoClient from 'https://esm.run/@logto/browser';

  // Assign the \`logtoClient\` instance to window object,
  // enabling global usage in other pages
  window.logtoClient = new LogtoClient({
    endpoint: '<your-logto-endpoint>', // E.g. http://localhost:3001
    appId: '<your-application-id>',
  });
</script>
Implement sign-in
Before we dive into the details, here's a quick overview of the end-user experience. The sign-in process can be simplified as follows:
- Your app invokes the sign-in method.
- The user is redirected to the Logto sign-in page. For native apps, the system browser is opened.
- The user signs in and is redirected back to your app (configured as the redirect URI).
Regarding redirect-based sign-in
- This authentication process follows the OpenID Connect (OIDC) protocol, and Logto enforces strict security measures to protect user sign-in.
- If you have multiple apps, you can use the same identity provider (Logto). Once the user signs in to one app, Logto will automatically complete the sign-in process when the user accesses another app.
To learn more about the rationale and benefits of redirect-based sign-in, see Logto sign-in experience explained.
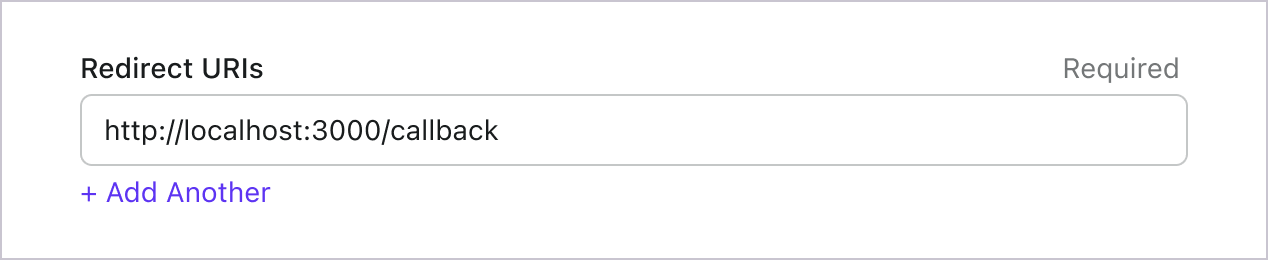
Configure sign-in redirect URI
Let's switch to the Application details page of Logto Console. Add a Redirect URI https://your-awesome-site.webflow.io/callback and click "Save changes".
Implement a sign-in button
Return to your Webflow designer, drag and drop a "Sign in" button to the home page, and assign it an ID “sign-in” for later reference using getElementById().
<script type="module">
  const signInButton = document.getElementById('sign-in');
  const onClickSignIn = () => logtoClient.signIn('https://your-awesome-site.webflow.io/callback');
  signInButton.addEventListener('click', onClickSignIn);
</script>
Handle redirect
We're almost there! In the last step, we use https://your-awesome-site.webflow.io/callback as the Redirect URI, and now we need to handle it properly.
First let's create a "Callback" page in Webflow, and simply put some static text "Redirecting..." on it. Then add the following page-level custom code to "Callback" page.
<script type="module">
  (async () => {
    // Handle sign-in callback logic by calling the SDK method
    await logtoClient.handleSignInCallback(window.location.href);

    // Redirect back to the home page when the handling is done
    window.location.assign('https://your-awesome-site.webflow.io');
  })();
</script>
Implement sign-out
Calling .signOut() will clear all the Logto data in memory and localStorage if they exist.
After signing out, it'll be great to redirect your user back to your website. Let's add https://your-awesome-site.webflow.io as one of the Post Sign-out URIs in Admin Console (shows under Redirect URIs), and use the URL as the parameter when calling .signOut().
Implement a sign-out button
Return to the Webflow designer, and add a “Sign out” button on your home page. Similarly, assign an ID “sign-out” to the button, and add the following code to the page-level custom code.
const signOutButton = document.getElementById('sign-out');
const onClickSignOut = () => logtoClient.signOut('https://your-awesome-site.webflow.io');
signOutButton.addEventListener('click', onClickSignOut);
Handle authentication status
In Logto SDK, generally we can use logtoClient.isAuthenticated() method to check the authentication status, if the user is signed in, the value will be true; otherwise, it will be false.
In your Webflow site, you can also use it to programmatically show and hide the sign-in and sign-out buttons. Apply the following custom code to adjust button CSS accordingly.
const isAuthenticated = await logtoClient.isAuthenticated();

signInButton.style.display = isAuthenticated ? 'none' : 'block';
signOutButton.style.display = isAuthenticated ? 'block' : 'none';
Checkpoint: Test your Webflow site
Now, test your site:
- Deploy and visit your site URL, the sign-in button should be visible.
- Click the sign-in button, the SDK will initiate the sign-in process, redirecting you to the Logto sign-in page.
- After signing in, you will be redirected back to your site, seeing the username and the sign-out button.
- Click the sign-out button to sign-out.
Add Alipay (Native) connector
To enable quick sign-in and improve user conversion, connect with Webflow as an identity provider. The Logto social connector helps you establish this connection in minutes by allowing several parameter inputs.
To add a social connector, simply follow these steps:
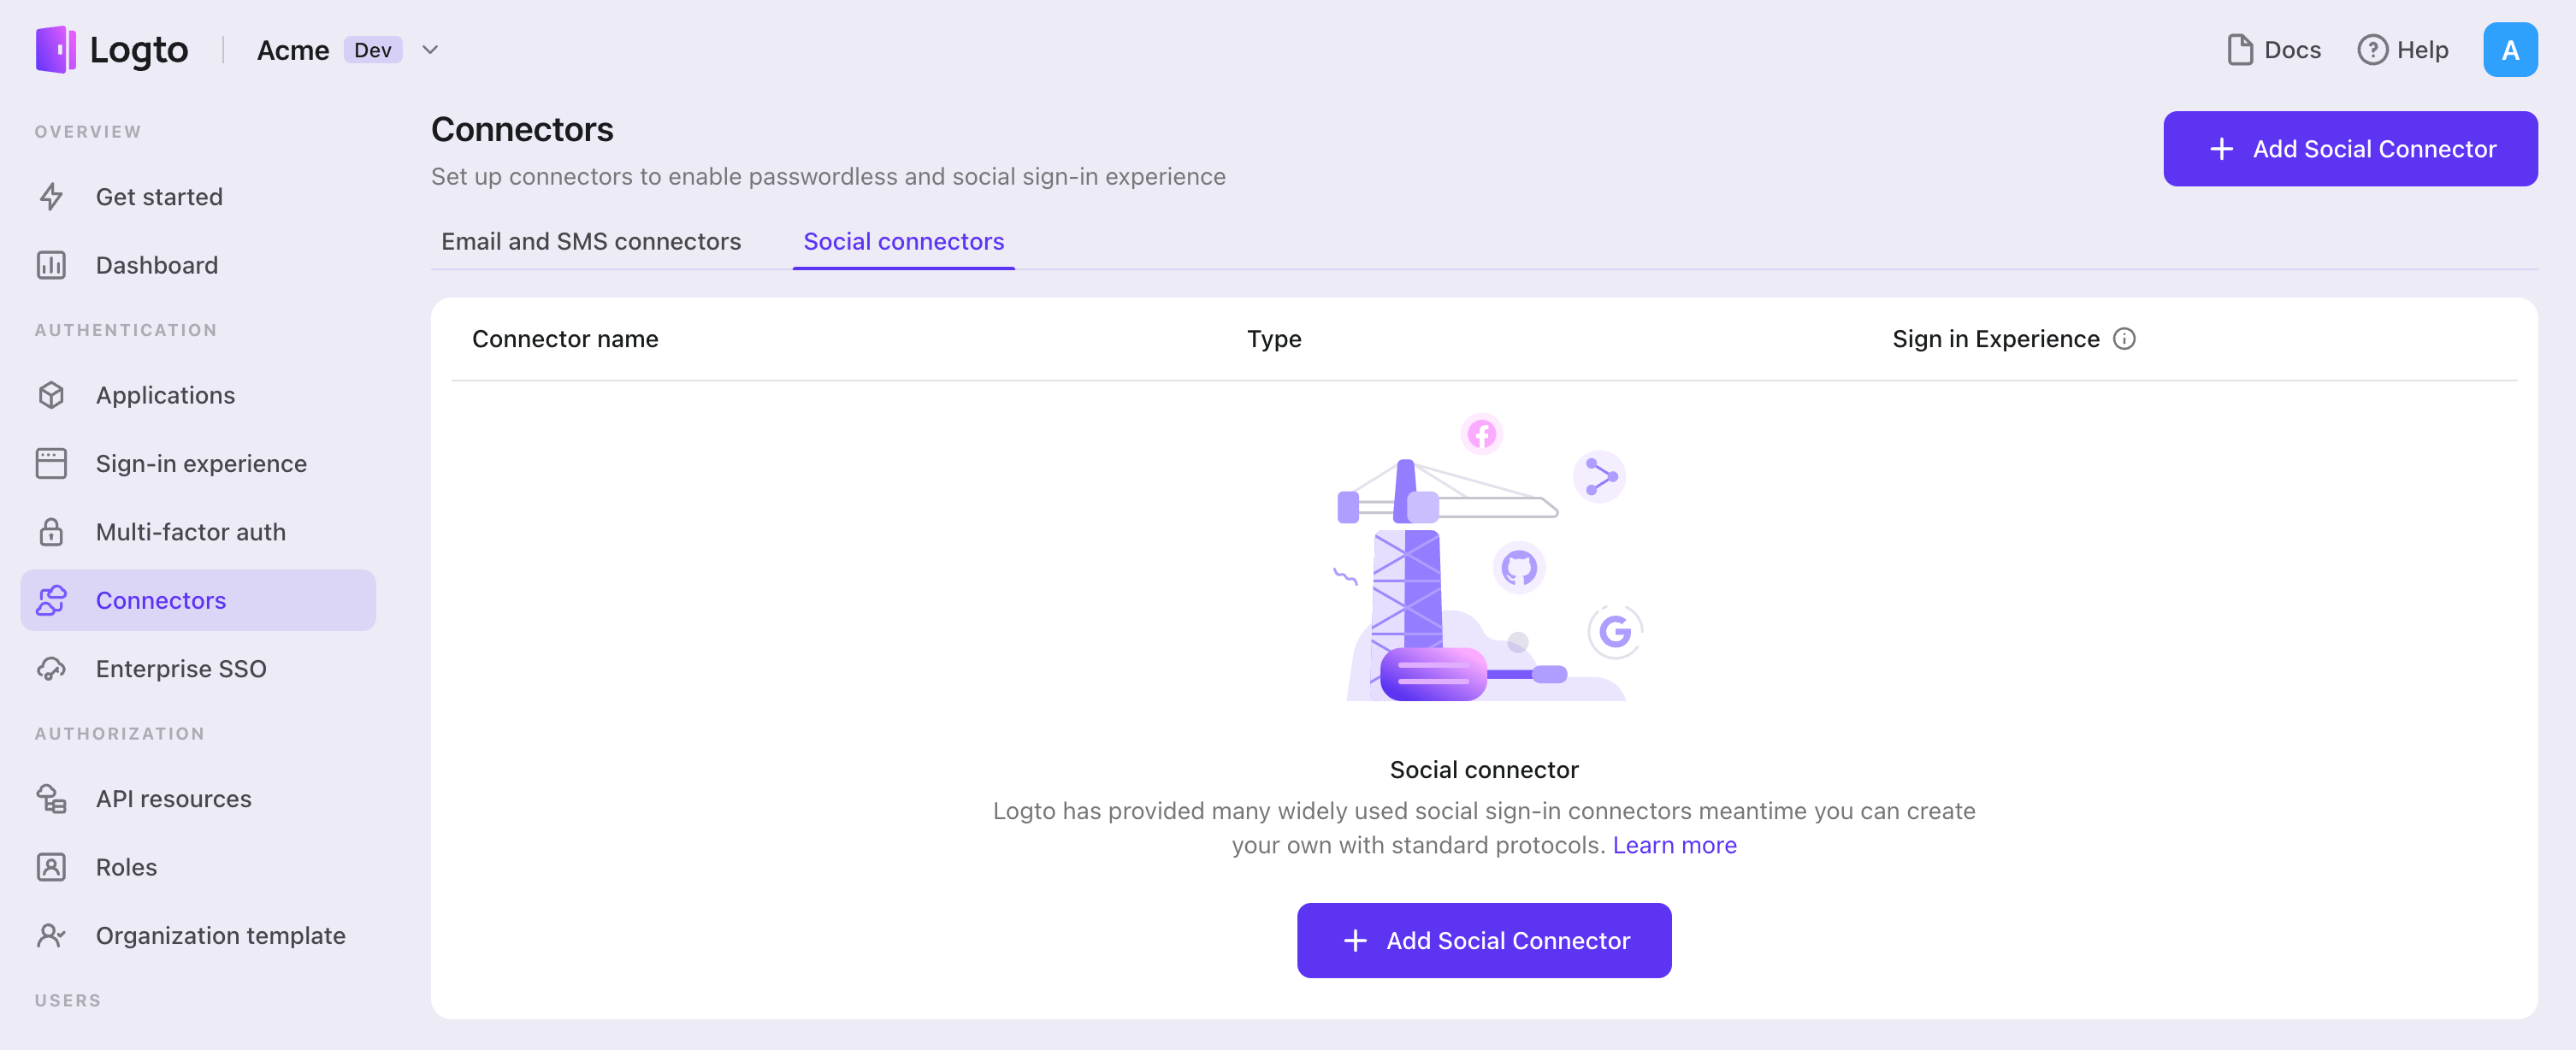
- Navigate to Console > Connectors > Social Connectors.
- Click "Add social connector" and select "Alipay (Native)".
- Follow the README guide and complete required fields and customize settings.
If you are following the in-place Connector guide, you can skip the next section.
Set up Alipay mobile app
Register Alipay developer account
Register an Alipay developer account if you don't have one.
Create and configure Alipay app
- Sign in to the Alipay console with the account you have just registered.
- Go to "Web & Mobile Apps" (网页&移动应用) tab in "My Application" (我的应用) panel.
- Click "Create an App" (立即创建) button to start configuring your application.
- Name your application in "Application Name" (应用名称) following the naming conventions and upload your "Application Icon" (应用图标), make sure you choose "mobile application" (移动应用) as "App type" (应用类型). For building iOS App, a unique "Bundle ID" is required. Also, "application signature" (应用签名) and "application package name" (应用包名) are required for Android apps.
- After finishing creating the application, we come to the Overview page, where we should click "add ability" (添加能力) to add "Third-party application authorization" (第三方应用授权), "Get member information" (获取会员信息) and "App Alipay login" (App 支付宝登录) before enabling Alipay sign-in.
- Go to Alipay Customer Center, and sign in with the Alipay developer account. Click "Account Center" (账号中心) on the topbar and go to "APPID binding" (APPID 绑定), whose entrance can be found at the bottom of the sidebar. "Add binding" (添加绑定) by type in the APPID of the mobile application you just created in step 4.
- Click on "Sign" button of "App Alipay login", and finish signing process following the guide. After finishing this step, you are expected to find abilities you have just added in step 5 kicks in.
- Come back to Alipay open platform console page, and you can find "Interface signing method" (接口加签方式(密钥/证书)) in "development information" (开发信息) section. Click "set up" (设置) button, and you can find yourself on a page setting signing method. "Public Key" (公钥) is the preferred signing mode, and fill in contents from the public key file you have generated in the text input box.
- Set up "Authorization Redirect URI" (授权回调地址) by clicking "set up" (设置) button on the bottom of the Alipay console page.
${your_logto_origin}/callback/${connector_id}is the default redirect URI used in Logto core. Theconnector_idcan be found on the top bar of the Logto Admin Console connector details page. - After finishing all these steps, go back to the top right corner of Alipay console page, and click "Submit for review" (提交审核). Once the review is approved, you are good to go with a smooth Alipay sign-in flow.
You can use openssl to generate key pairs on your local machine by executing following code snippet in terminal.
openssl genrsa -out private.pem 2048
openssl rsa -in private.pem -outform PEM -pubout -out public.pem
When filling in the public key on the Alipay app setup website, you need to remove the header and footer of public.pem, delete all newline characters, and paste the rest of the contents into the text input box for "public key".
Set up the Logto Alipay Native connector settings
- In the Alipay console workspace go to "My application" (我的应用) panel and click "Web & Mobile Apps" (网页&移动应用) tab, you can find APPID of all applications.
- In step 7 of the previous part, you have already generated a key pair including a private key and a public key.
- Fill out the Logto connector settings:
- Fill out the
appIdfield with APPID you've got from step 1. - Fill out the
privateKeyfield with contents from the private key file mentioned in step 2. Please MAKE SURE to use '\n' to replace all newline characters. You don't need to remove header and footer in private key file. - Fill out the
signTypefiled with 'RSA2' due to thePublic keysigning mode we chose in step 7 of "Create And Configure Alipay Apps".
- Fill out the
Config types
| Name | Type | Enum values |
|---|---|---|
| appId | string | N/A |
| privateKey | string | N/A |
| signType | enum string | 'RSA' | 'RSA2' |
Enable Alipay native sign-in in your app
iOS
We assume you have integrated Logto iOS SDK in your app. In this case, things are pretty simple, and you don't even need to read the Alipay SDK doc:
1. Add LogtoSocialPluginAlipay to your Xcode project
Add the framework:
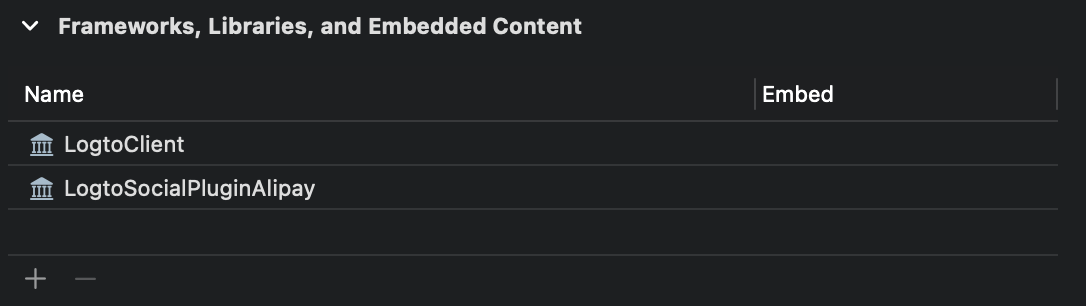
The plugin includes Alipay "minimalist SDK" (极简版 SDK). You can directly use import AFServiceSDK once imported the plugin.
2. Add the plugin to your LogtoClient init options
let logtoClient = LogtoClient(
  useConfig: config,
  socialPlugins: [LogtoSocialPluginAlipay(callbackScheme: "your-scheme")]
)
Where callbackScheme is one of the custom URL Schemes that can navigate to your app.
Android
We assume you have integrated Logto Android SDK in your app. In this case, things are pretty simple, and you don't even need to read the Alipay SDK doc:
1. Download the Alipay "minimalist SDK" and add it to your project
Download the Alipay "minimalist SDK" (极简版 SDK) from Logto 3rd-party Social SDKs to your project's app/libs folder:
project-path/app/libs/alipaySdk-15.7.9-20200727142846.aar
2. Add the Alipay "minimalist SDK" as a dependency
Open your build.gradle file:
project-path/app/build.gradle
Add the dependency:
dependencies {
  // ...
  implementation(files("./libs/alipaySdk-15.7.9-20200727142846.aar"))  // kotlin-script
  // or
  implementation files('./libs/alipaySdk-15.7.9-20200727142846.aar')  // groovy-script
}
Save your configuration
Double check you have filled out necessary values in the Logto connector configuration area. Click "Save and Done" (or "Save changes") and the Alipay (Native) connector should be available now.
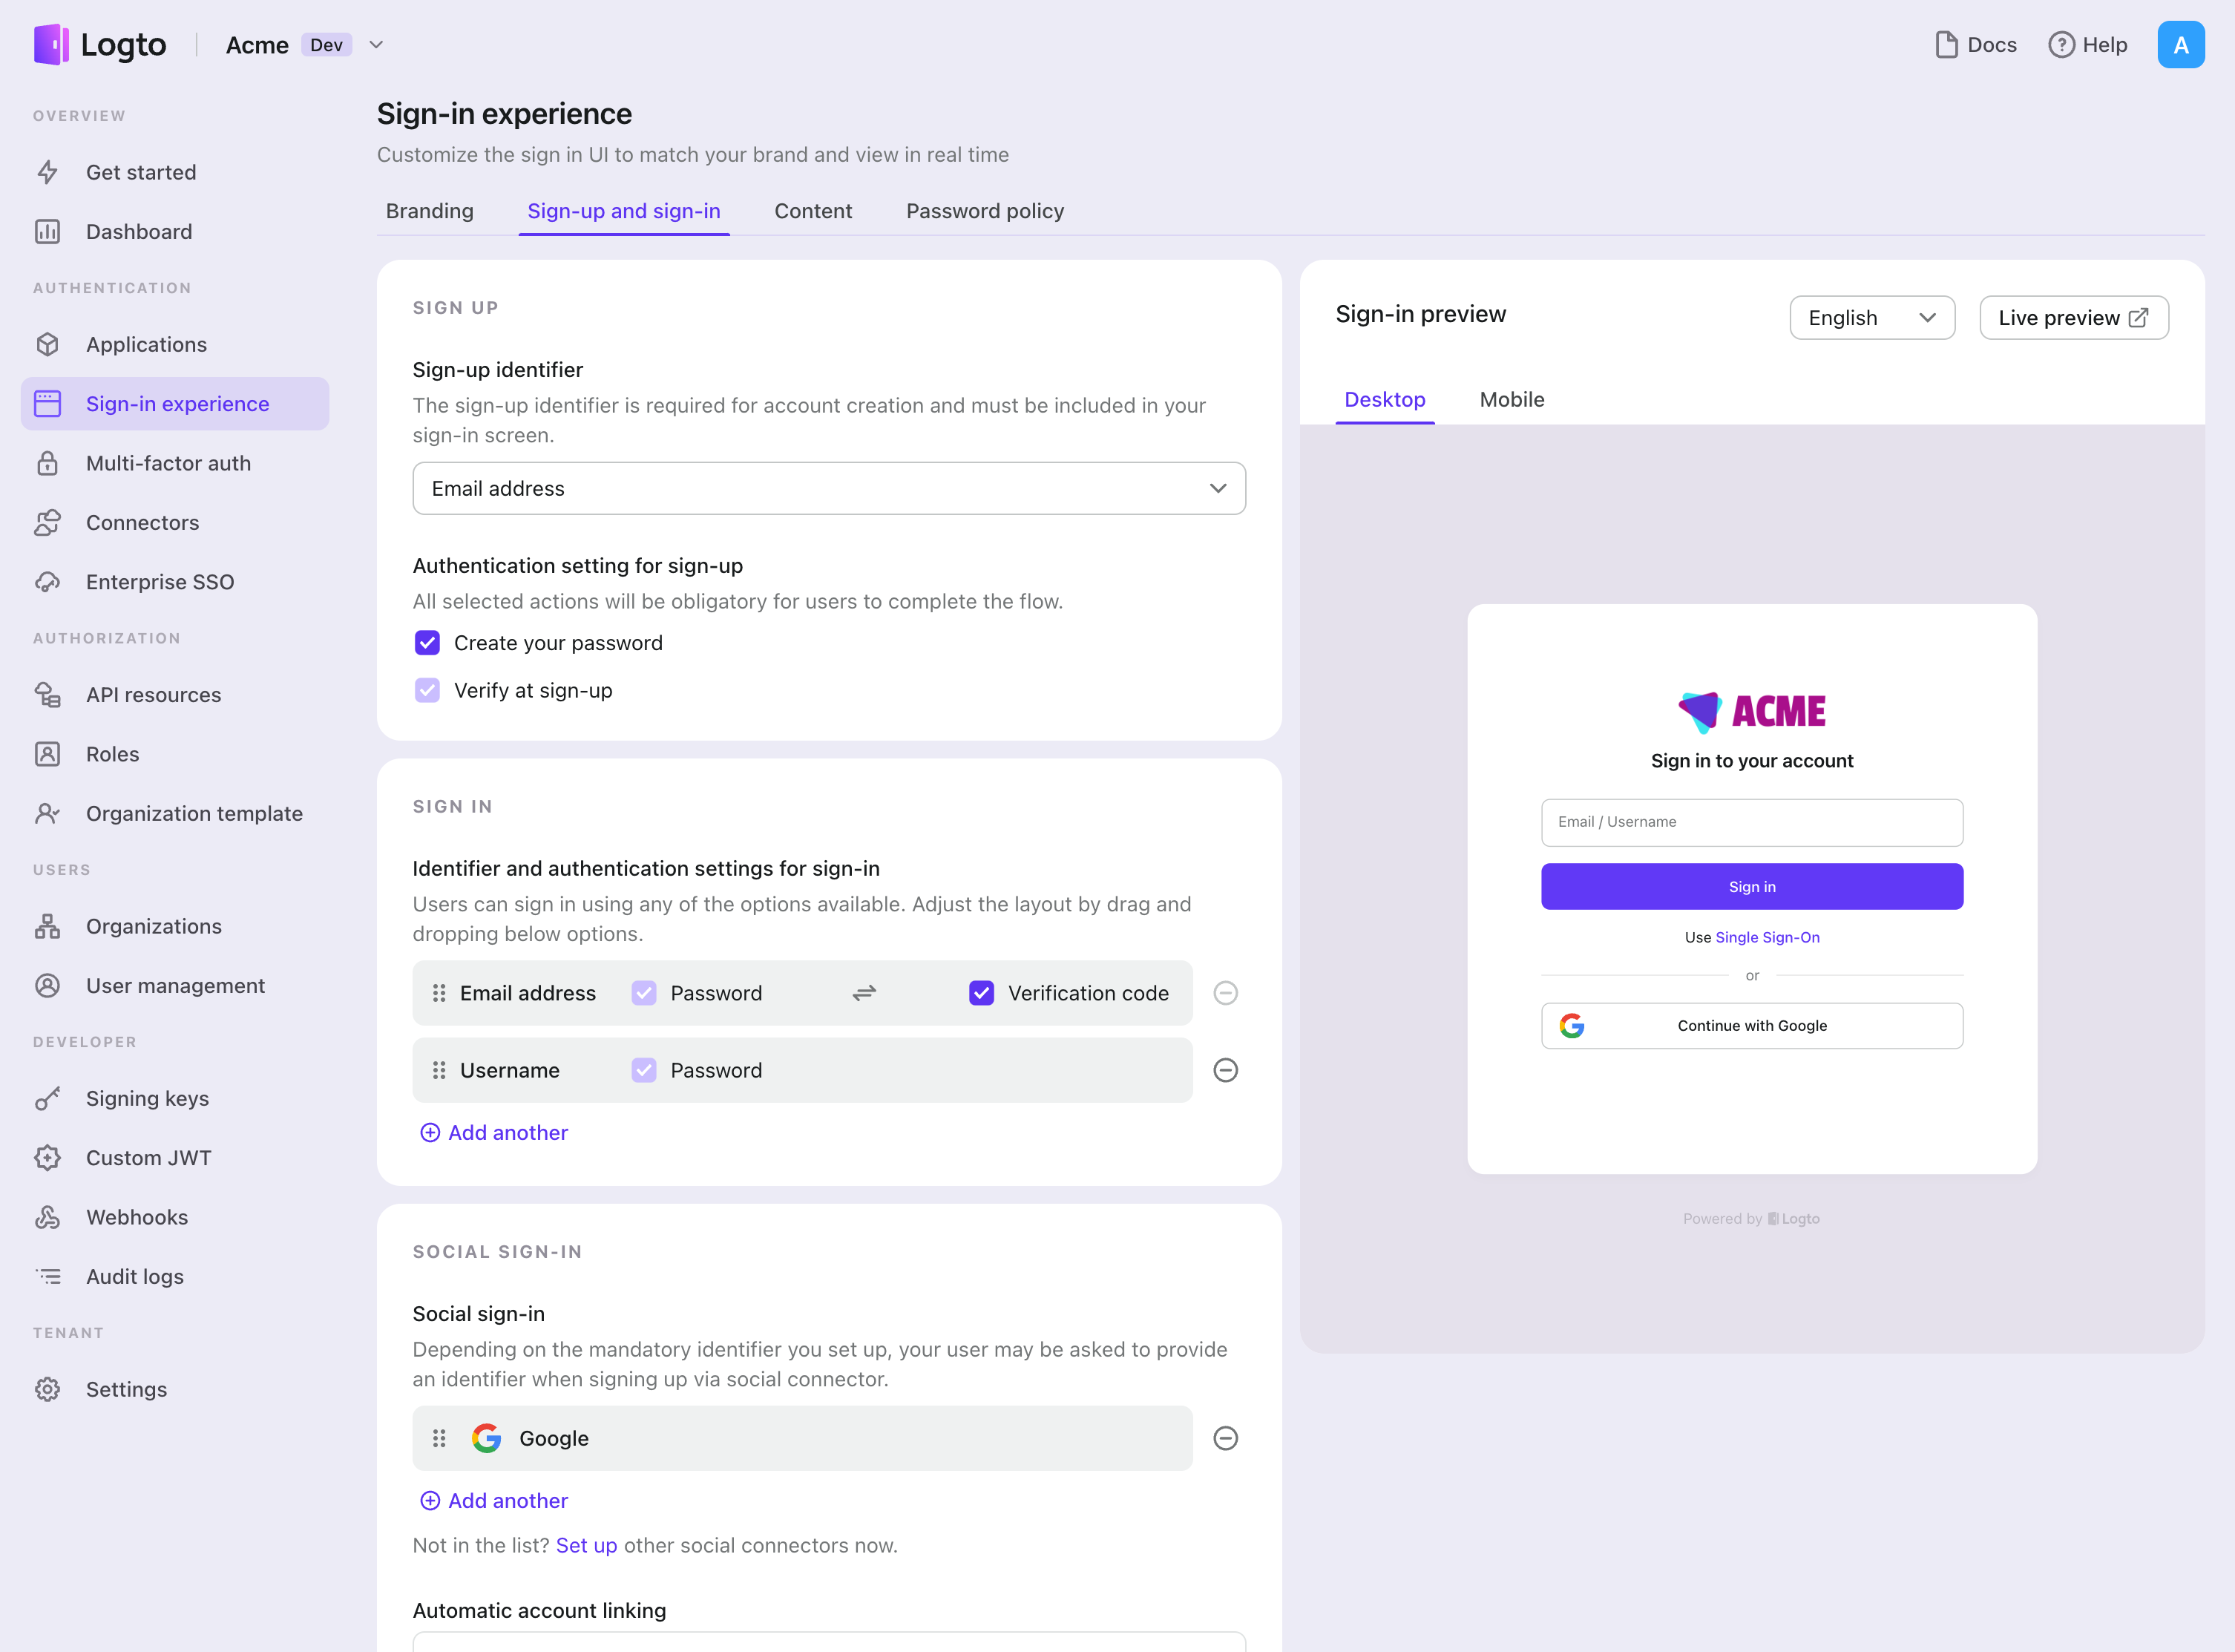
Enable Alipay (Native) connector in Sign-in Experience
Once you create a social connector successfully, you can enable it as a "Continue with Alipay (Native)" button in Sign-in Experience.
- Navigate to Console > Sign-in experience > Sign-up and sign-in.
- (Optional) Choose "Not applicable" for sign-up identifier if you need social login only.
- Add configured Alipay (Native) connector to the "Social sign-in" section.
Testing and Validation
Return to your Webflow app. You should now be able to sign in with Alipay (Native). Enjoy!
Further readings
End-user flows: Logto provides a out-of-the-box authentication flows including MFA and enterprise SSO, along with powerful APIs for flexible implementation of account settings, security verification, and multi-tenant experience.
Authorization: Authorization defines the actions a user can do or resources they can access after being authenticated. Explore how to protect your API for native and single-page applications and implement Role-based Access Control (RBAC).
Organizations: Particularly effective in multi-tenant SaaS and B2B apps, the organization feature enable tenant creation, member management, organization-level RBAC, and just-in-time-provisioning.
Customer IAM series Our serial blog posts about Customer (or Consumer) Identity and Access Management, from 101 to advanced topics and beyond.